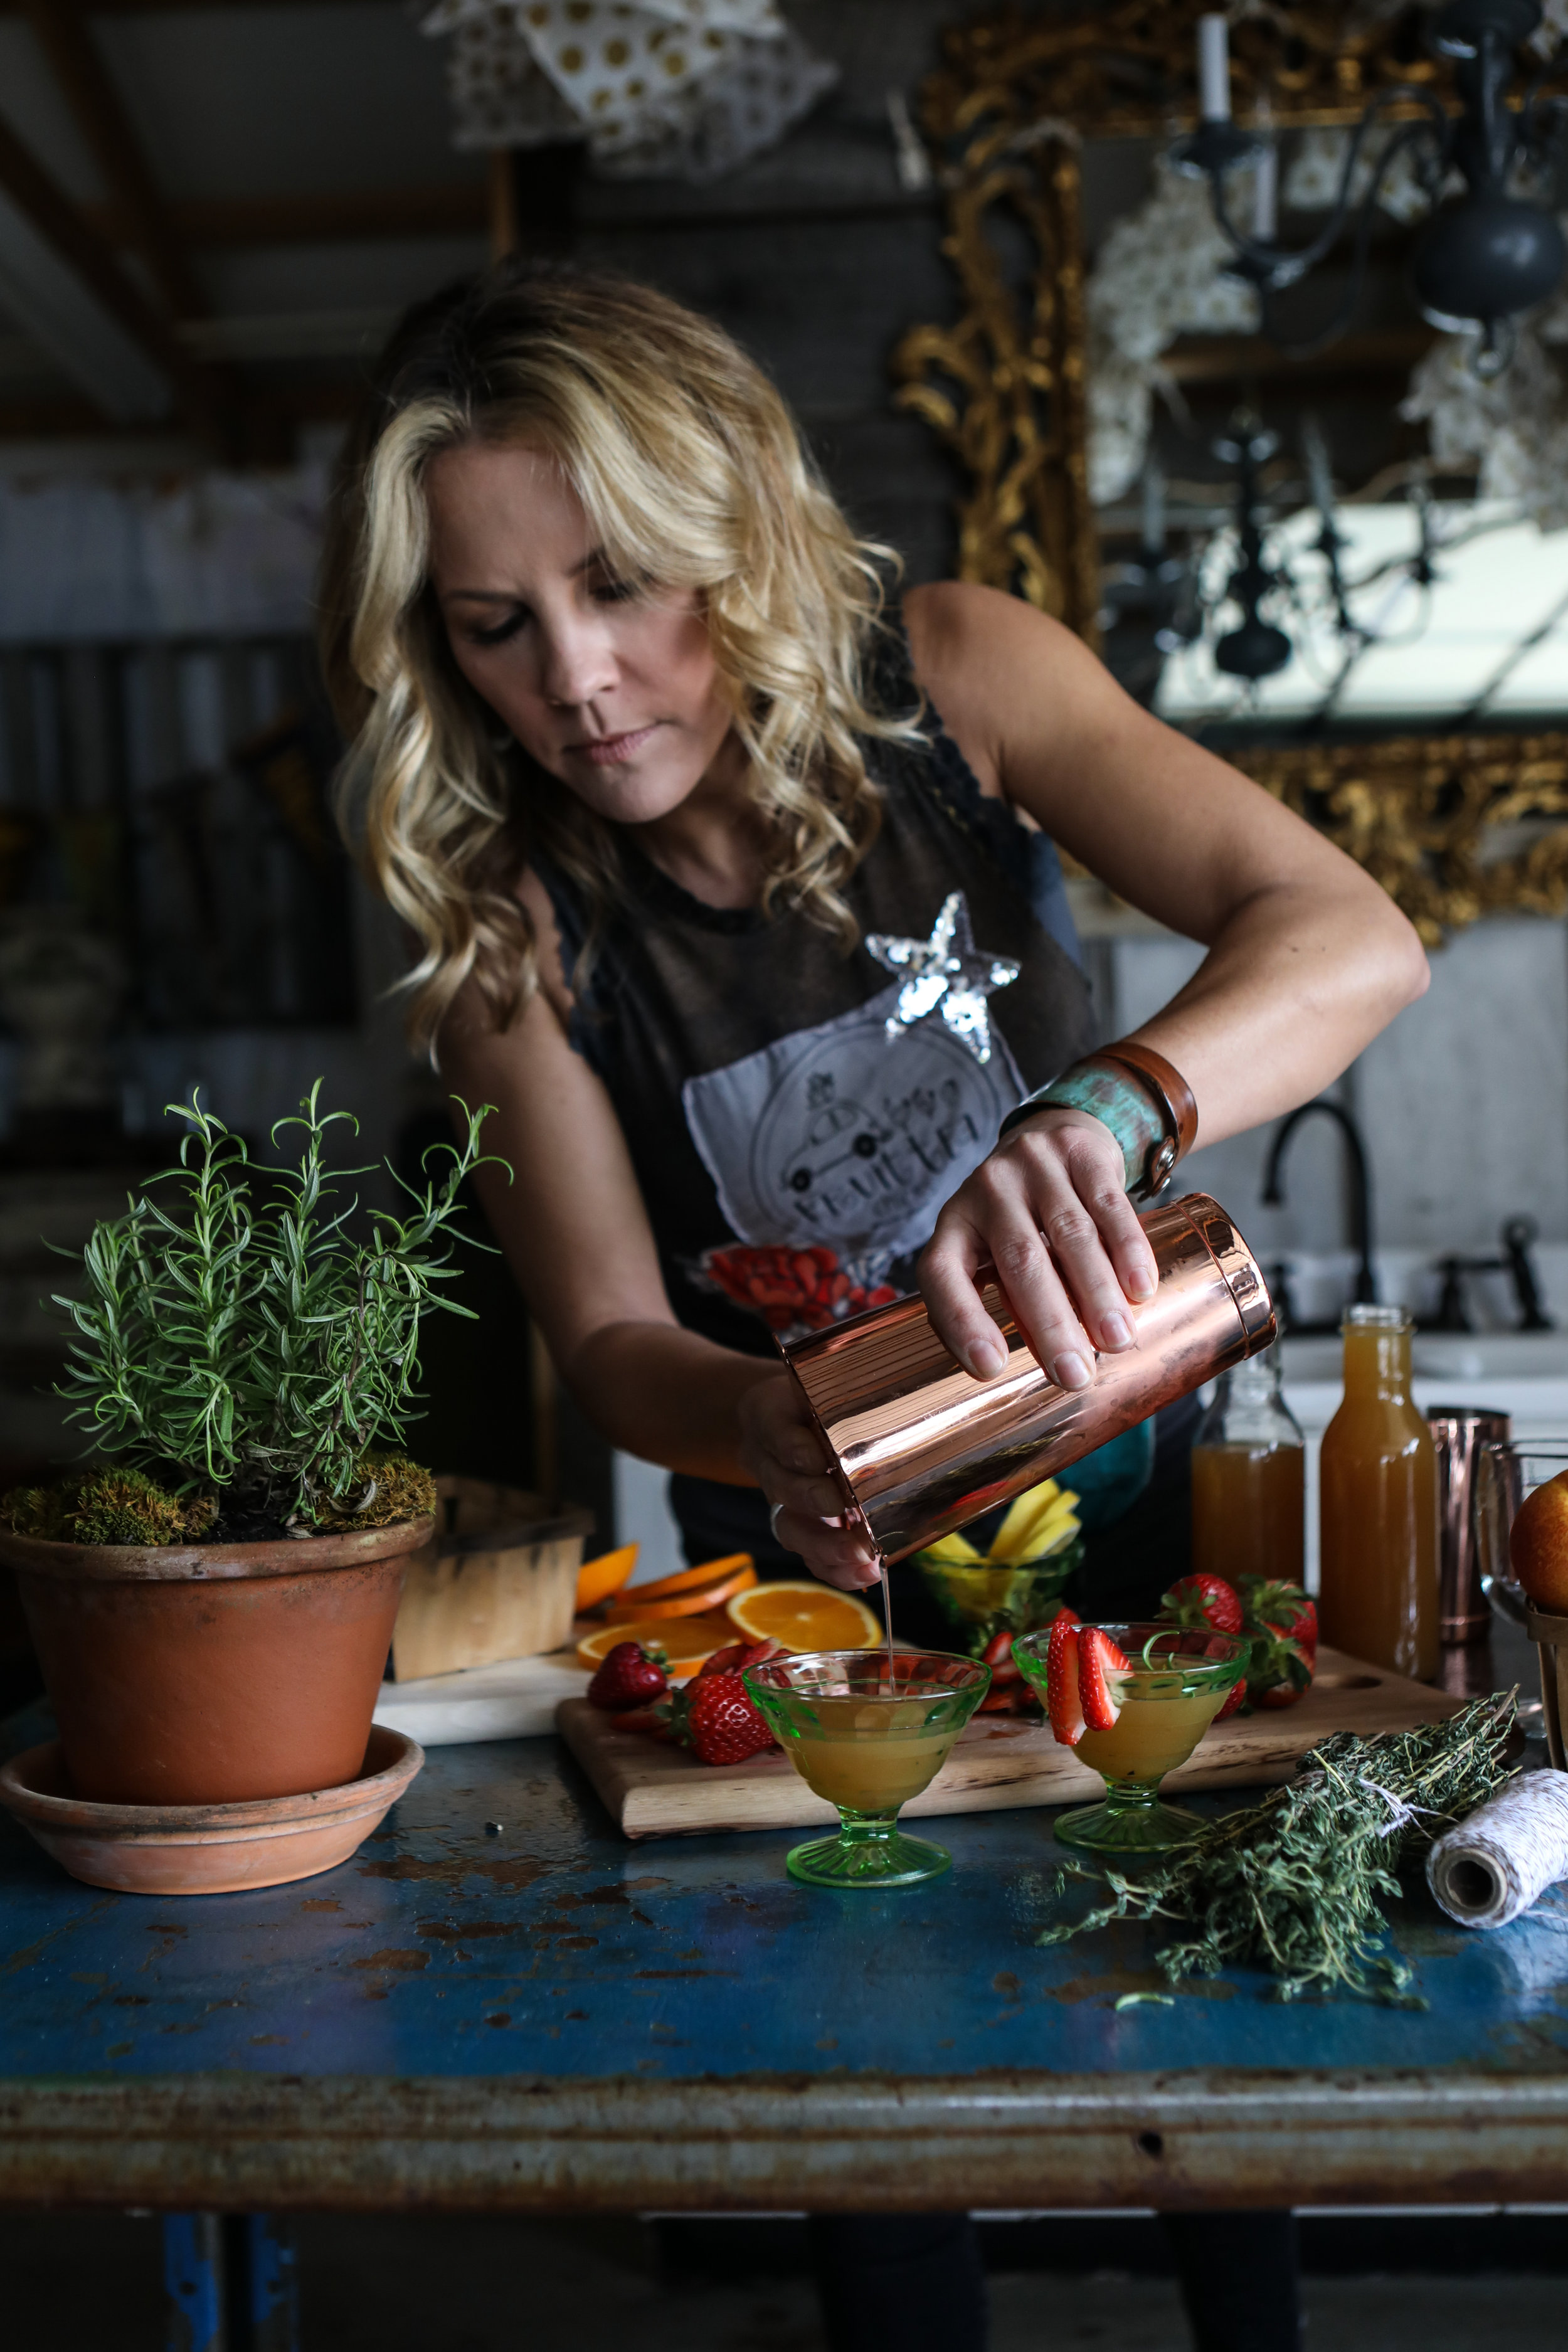
LUCK OF THE POT — Hosting a Potluck
Ben Ashby

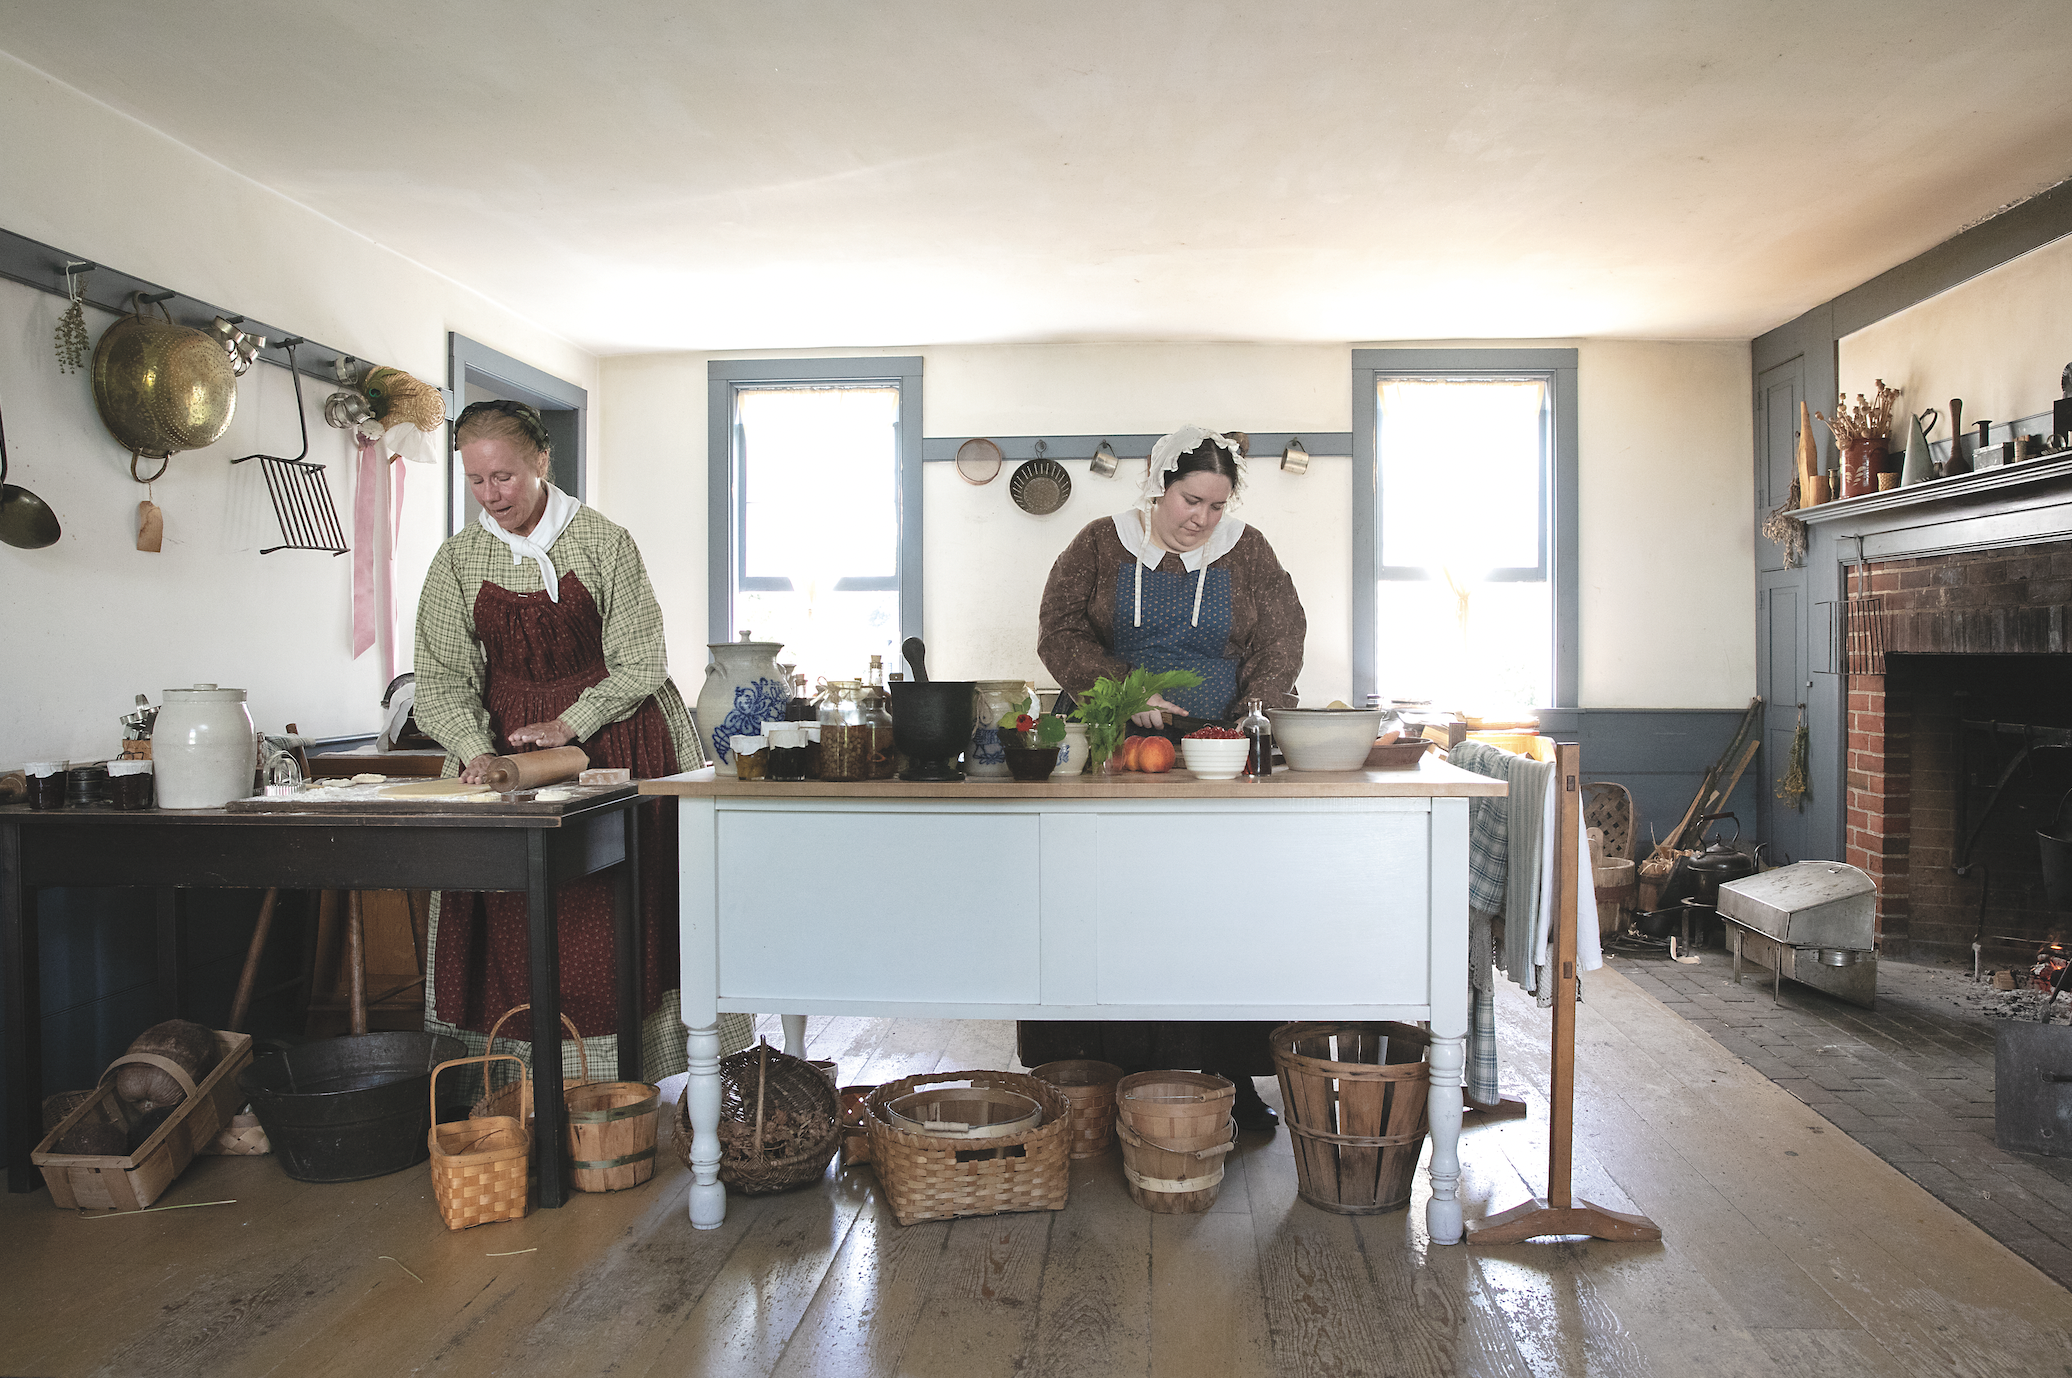
TRADITIONALLY A POTLUCK IS A GATHERING OF PEOPLE WHERE EACH PERSON CONTRIBUTES FOOD TO BE SHARED. SOME REFER TO IT AS A COVERED DISH SUPPER, CARRY-IN MEAL, OR DISH-TO-SHARE DINNER. The word pot-luck is thought to have first appeared around the 16th century in England, the term was used to mean food served to unexpected guests. To the Irish, the term potluck comes from a time when groups of women would gather together and cook dinner, the meal served tasted like what was a matter of luck in the pot. I think of a potluck as a time that friends or families gather; everyone brings their favorite or most requested dish, a time to try new flavors and to savor old favorites.
Although there is no correct way to host a potluck, some hosts might provide the meat and ask guests to bring side dishes; some potlucks are themed either based upon the time of year or the hosts’ choice. When planning or hosting a potluck meal of any sort, be sure to remember drinks, plates and utensils (friends that don’t like to cook will usually jump on the chance to provide them).

Where I live in Kentucky, part of the Bible Belt, church potlucks are a regular event. My favorite church dinners are the ones with no theme; just based on luck. I love a plate of vegetable casseroles, pasta dishes and deviled eggs. While this is not a meal combination that I would necessarily serve at home, but one that brings back childhood memories of fun and fellowship.
Another of my favorite potluck dinners is a Progressional Dinner. This meal is where a group moves from house to house. At the first house, the host prepares appetizers or salads, the second host prepares the main course and the last host prepares desserts. After dessert, the host might have a few games for the group to play to end the night. Potluck meals can be a life saver around the holidays; they give friends and relatives the opportunity to fellowship together in a way that doesn’t overburden any one person or family.

The first potluck that I ever remember attending was on July 4, about 30 years ago. It was held at my Aunt Naomi’s home in the area fondly know as Bull Creek. All my dad’s brothers and sisters, their spouses and most of my cousins gathered in for good times and great food. I remember a farm wagon being covered with more food than could possibly be eaten. There were family favorites: butter beans, cabbage rolls, fried chicken, deviled eggs, chocolate pies and all sorts of other vegetables, meats and desserts. My family has hosted a reunion every year since then, it’s now held on Labor Day and at the city park; the food is still wonderful, there is still more than can be eaten. Though my grandparents are no longer with us; I can look around the room and see my mamaw’s familiar brown–eyed expressions in the eyes of many of my relatives. And in the “potluck” of families, I consider myself very blessed.

NELLIE’S CABBAGE ROLLS
1 to 2 large head of cabbage
2 c, of uncooked minute rice
3 eggs
1 large onion, diced
4 pounds ground beef
1/2 T salt
1-29 Oz can of tomato sauce
1 lg can of tomato juice
Large covered roaster pan
Preheat oven to 350 degrees
Place the head of cabbage in a large pot over high heat and add water to cover. Boil cabbage for 15 minutes, or until it is pliable and soft; drain and allow to completely cool. Remove the hard outer vein from the leaves. In separate large bowl combine the beef, rice, salt, and eggs. Mix well with hands. Place a small amount (about the size of your palm) of meat mixture in the palm of your hand, form a small oblong roll, place into center of a cabbage leaf fold the cabbage over the meat, tucking in the sides of the leaf to keep the meat mixture inside. Place large excess cabbage leaves on bottom of roasting pan. Pile up the filled leaves in the roaster. Add the tomato juice and tomato sauce, cover put in a 350 oven bake until juice thickens about 1hr. (Note: Check occasionally while, making sure the leaves on bottom of pan do not burn.)
Thanks to my cousin Linda for helping her mom create this recipe. Like many cooks, Nellie Myrl doesn’t use a recipe.
SEVEN CUP SALAD
1 c sour cream
1 c. sugar
1c crushed pineapple
1c mandarin oranges
1 c mini marshmallows
1 c coconut
1c chopped pecans
Mix sugar and sour cream. Add remaining ingredients. Chill and serve.
THREE BEAN SALAD
1 (8 1/2 oz.) can lima beans
1 (8 oz.) can cut green beans
1 (8 oz.0 can red kidney beans
1 med. onion, chopped
2/3 c. vinegar
1/2 c. salad oil
1/4 c. sugar
1 tsp. celery seed
Drain the canned beans. In a large bowl combine the lima beans, green beans, kidney beans, and onion. Combine vinegar, salad oil, sugar and celery seed; cover and mix well. Pour vinegar mixture over vegetables and stir lightly. Cover and chill at least 6 hours or overnight, stirring occasionally. Drain excess liquid before serving.

MISSISSIPPI MUD CAKE
1 1/2 c. flour
2 tbsp. cocoa
1 c. butter
2 c. sugar
1 tsp. vanilla
4 eggs
1 1/2 c. chopped pecans
1 (3 1/2 oz.) can flaked coconut
1 (7 oz.) jar marshmallow creme
Grease and flour 9x13 pan and set aside. Mix flour and cocoa together; set aside. Beat butter for 30 seconds to soften. Add sugar and vanilla, beating until fluffy. Add eggs. Beat in flour mixture. Stir in pecans and coconut. Turn mixture into prepared pan. Bake at 350 for 35 minutes. While cake is still hot, spread with marshmallow creme. Cool completely and add icing.
MISSISSIPPI MUD ICING:
1/2 c. butter
4 c. sifted powdered sugar
1/2 c. cocoa
1/2 c. evaporated milk
1 tsp. vanilla
MOMMA’S DEVILED EGGS
12 large eggs
Ice water
6 tablespoons mayonnaise
2 teaspoons mustard
Salt and black pepper
Cayenne pepper or Cajun Seasoning for dusting
In a large pot, arrange the eggs in a single layer and add enough water to cover. Bring to a boil over high heat, then cover and remove from the heat; let stand for 10 minutes. Drain, then cover the eggs with ice water. Let stand until cool to the touch. Peel the eggs, halve lengthwise and scoop the yolks into a medium bowl, reserving the egg whites. Mash the yolks with the mayonnaise, and mustard; season with salt and black pepper. Spoon the yolk mixture into the egg white halves and dust with cayenne pepper or Cajun Seasoning.