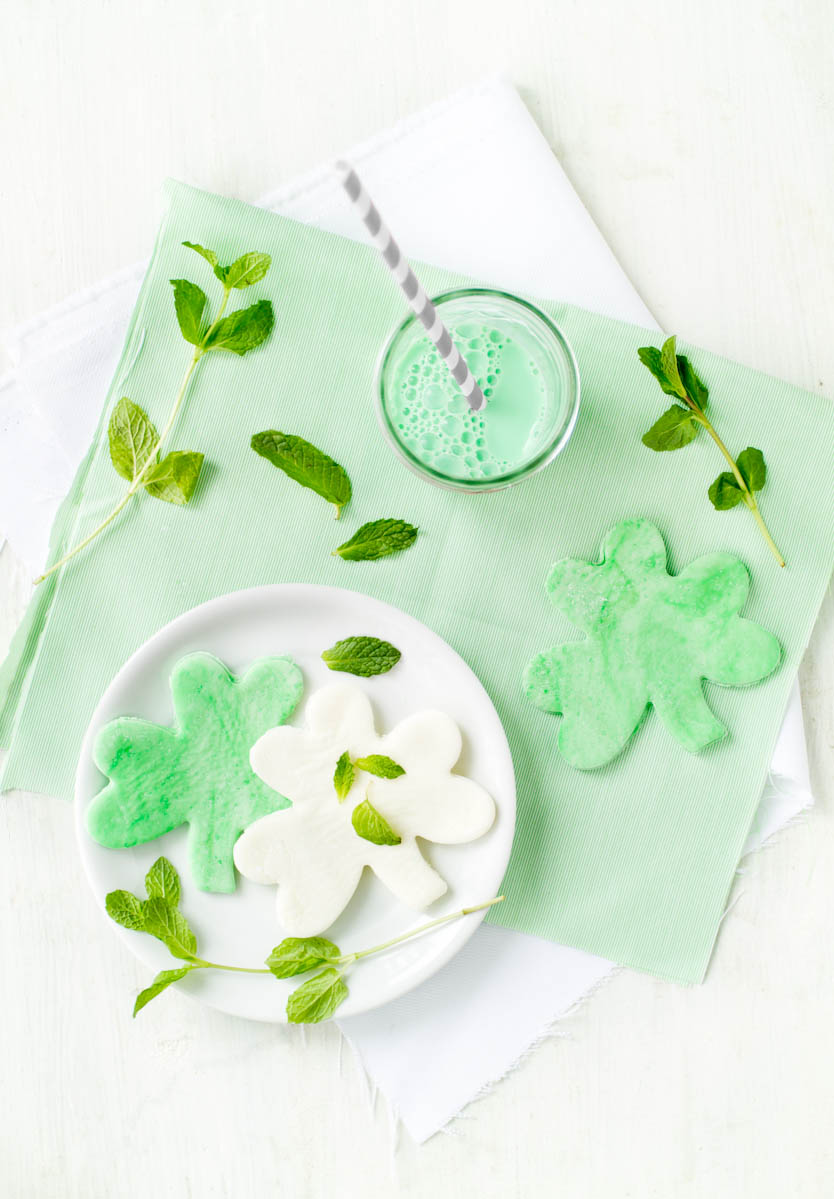
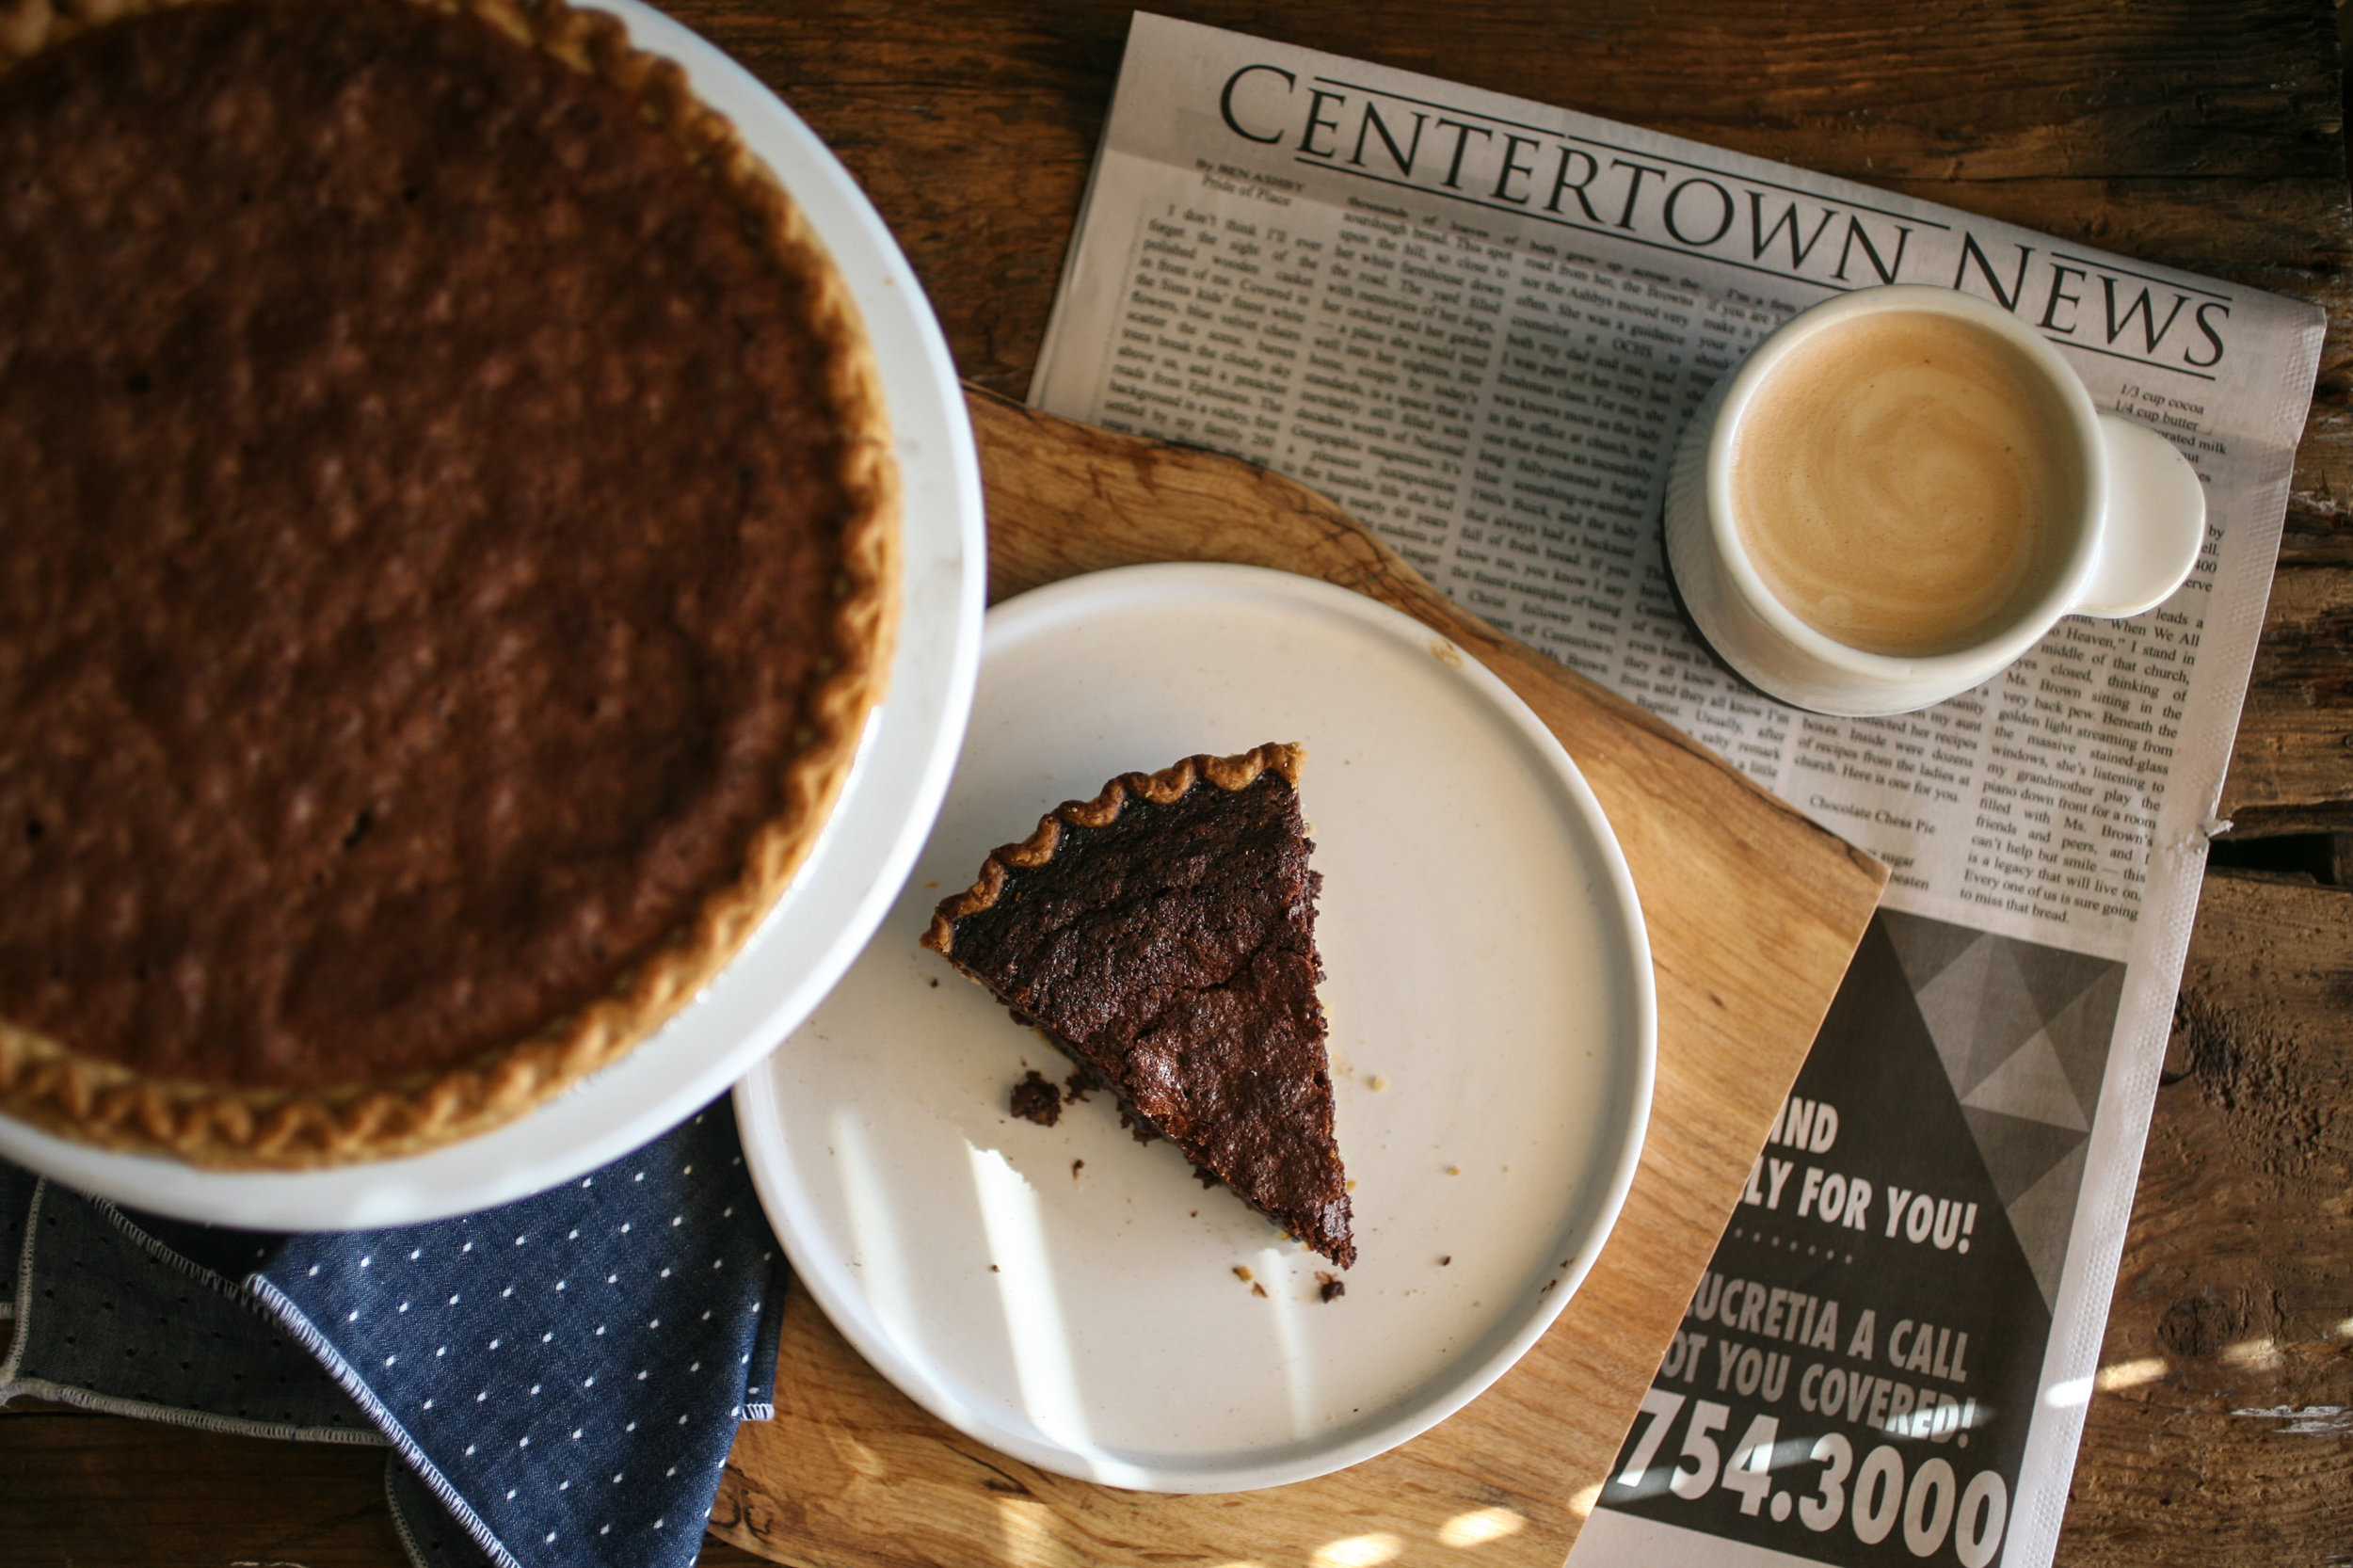
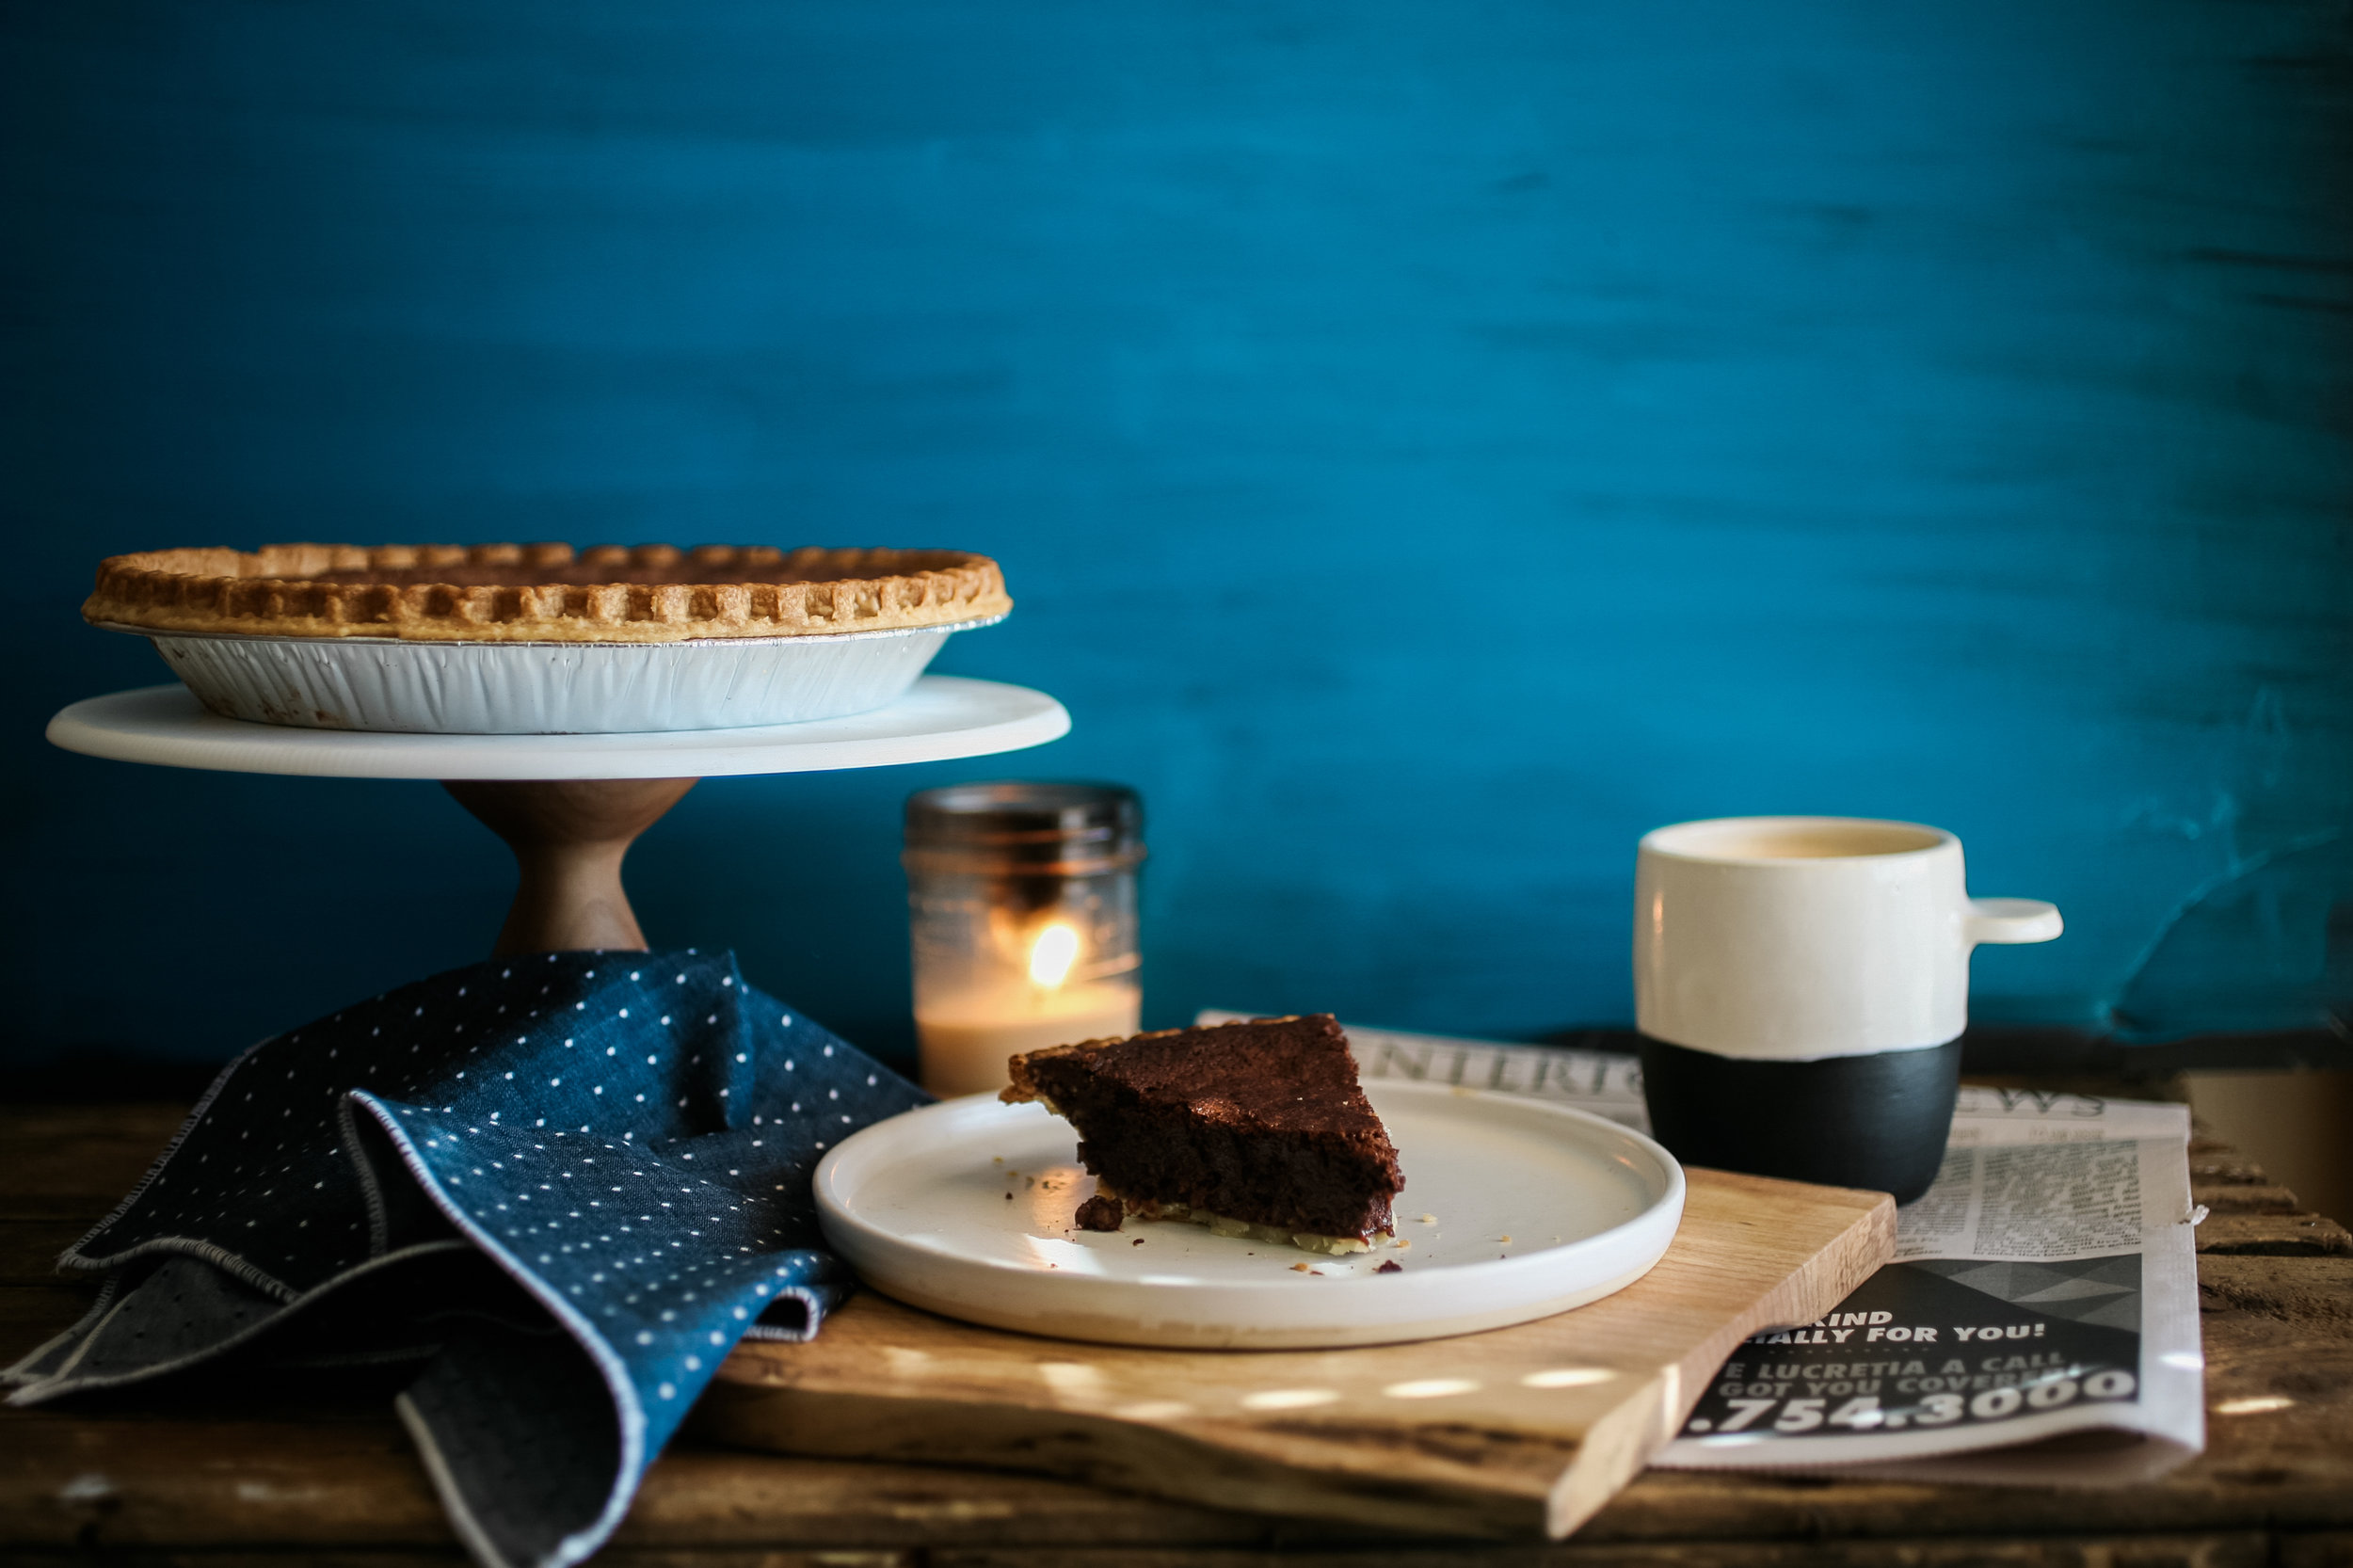
Shamrock Peppermint Creams
Ben Ashby
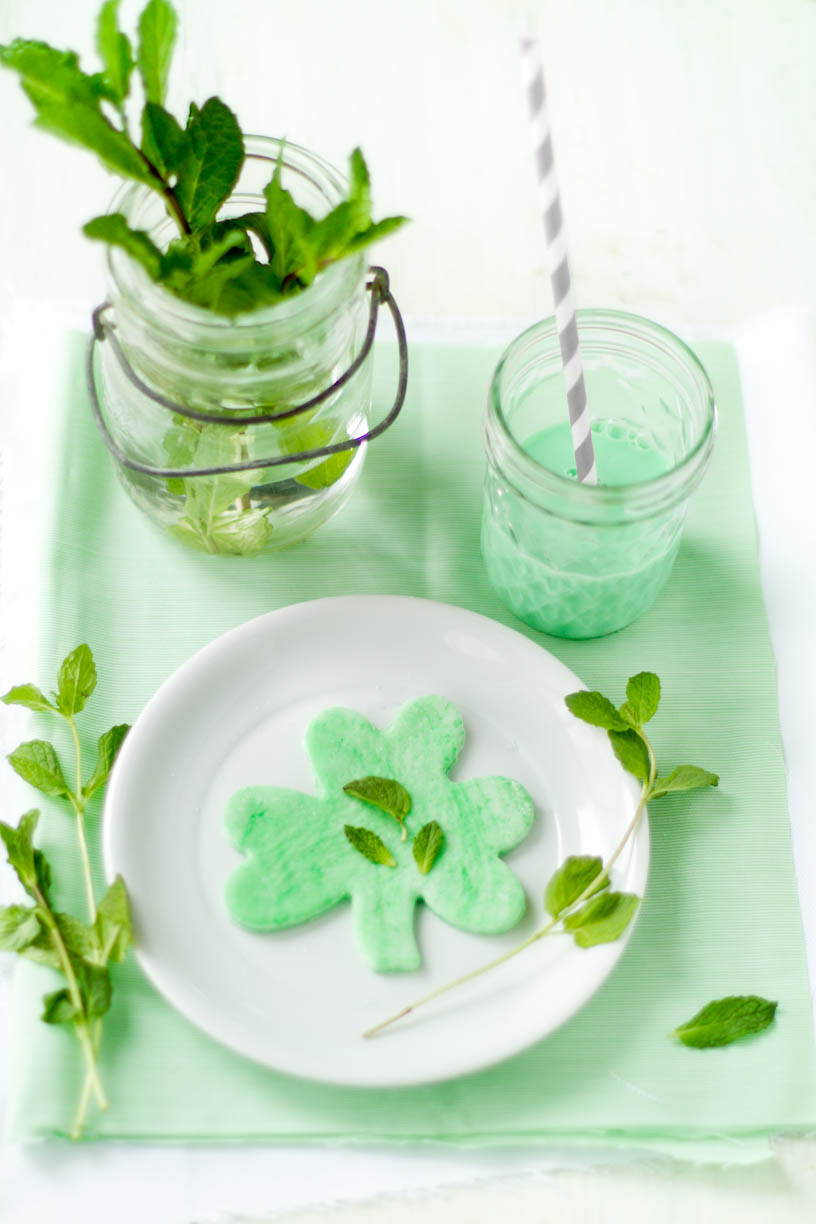
Shamrock Peppermint Creams
BY: RIKKI SNYDER
To be perfectly honest, I’m probably only about 3% Irish, but as a little kid I always got strangely excited for St. Patrick’s Day. In grade school we would go outside for recess and come back in to find the items in our desks were all messed up and rearranged and the teachers told us it was from the pesky leprechauns. To this day, I still don’t know why, but I thought that was the coolest thing ever.
Many years later and I still find myself getting excited for March 17th to roll around. Seeing all the green of this holiday makes me feel like spring is right within my reach! It’ll be here before we know it and for that I’m celebrating with these bright green shamrock peppermint creams!

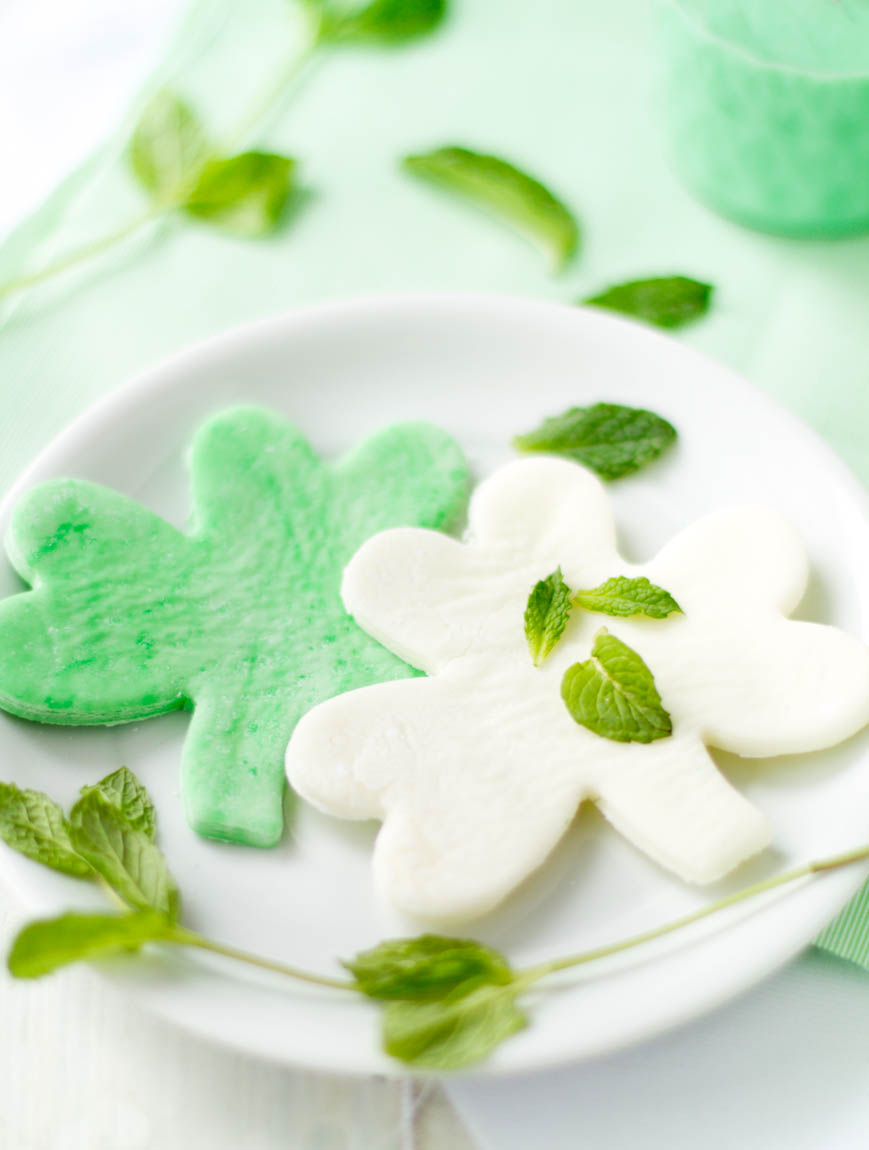
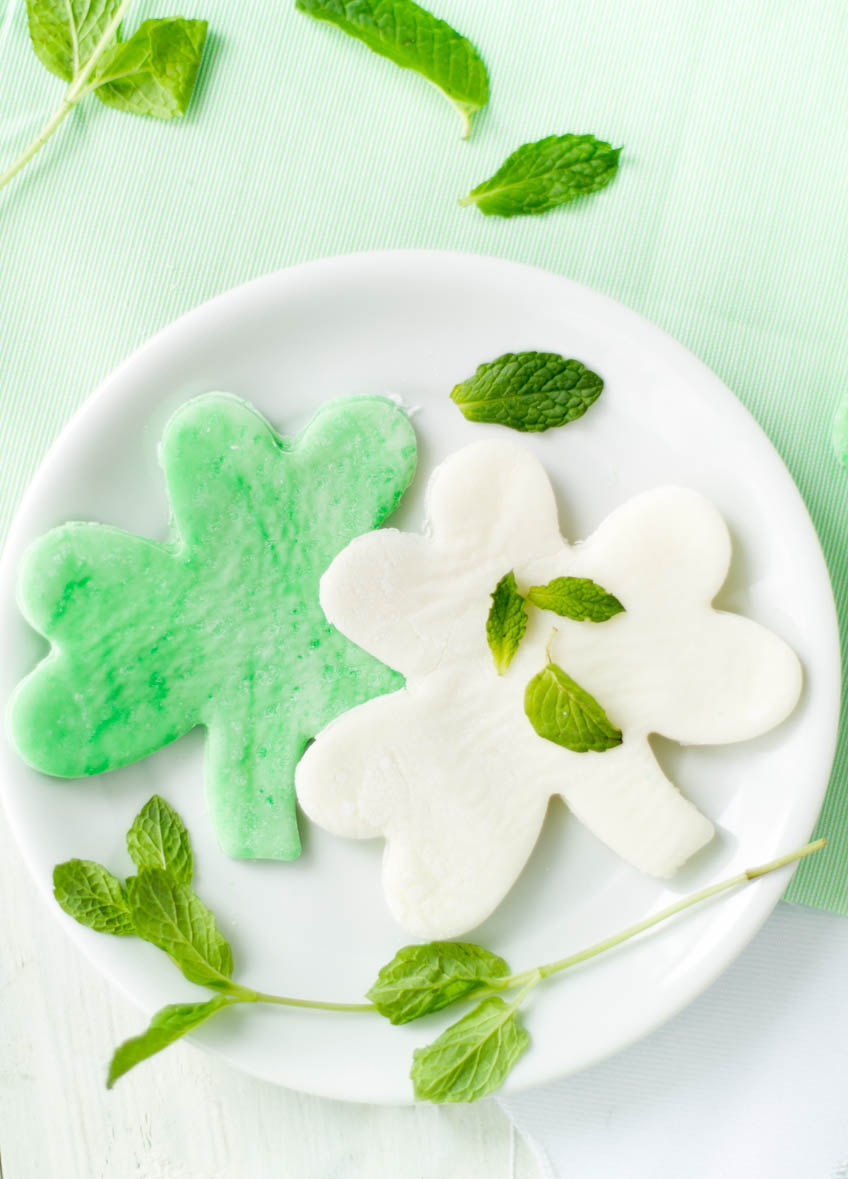
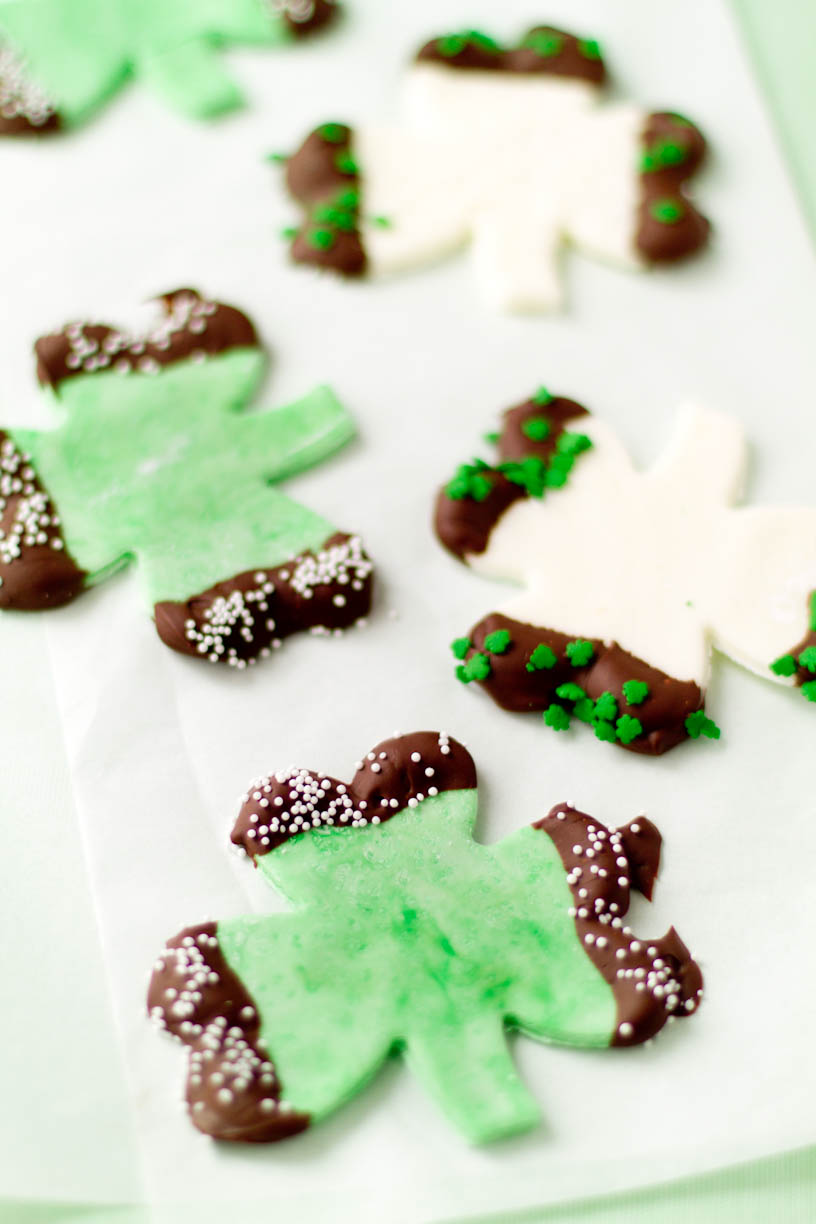
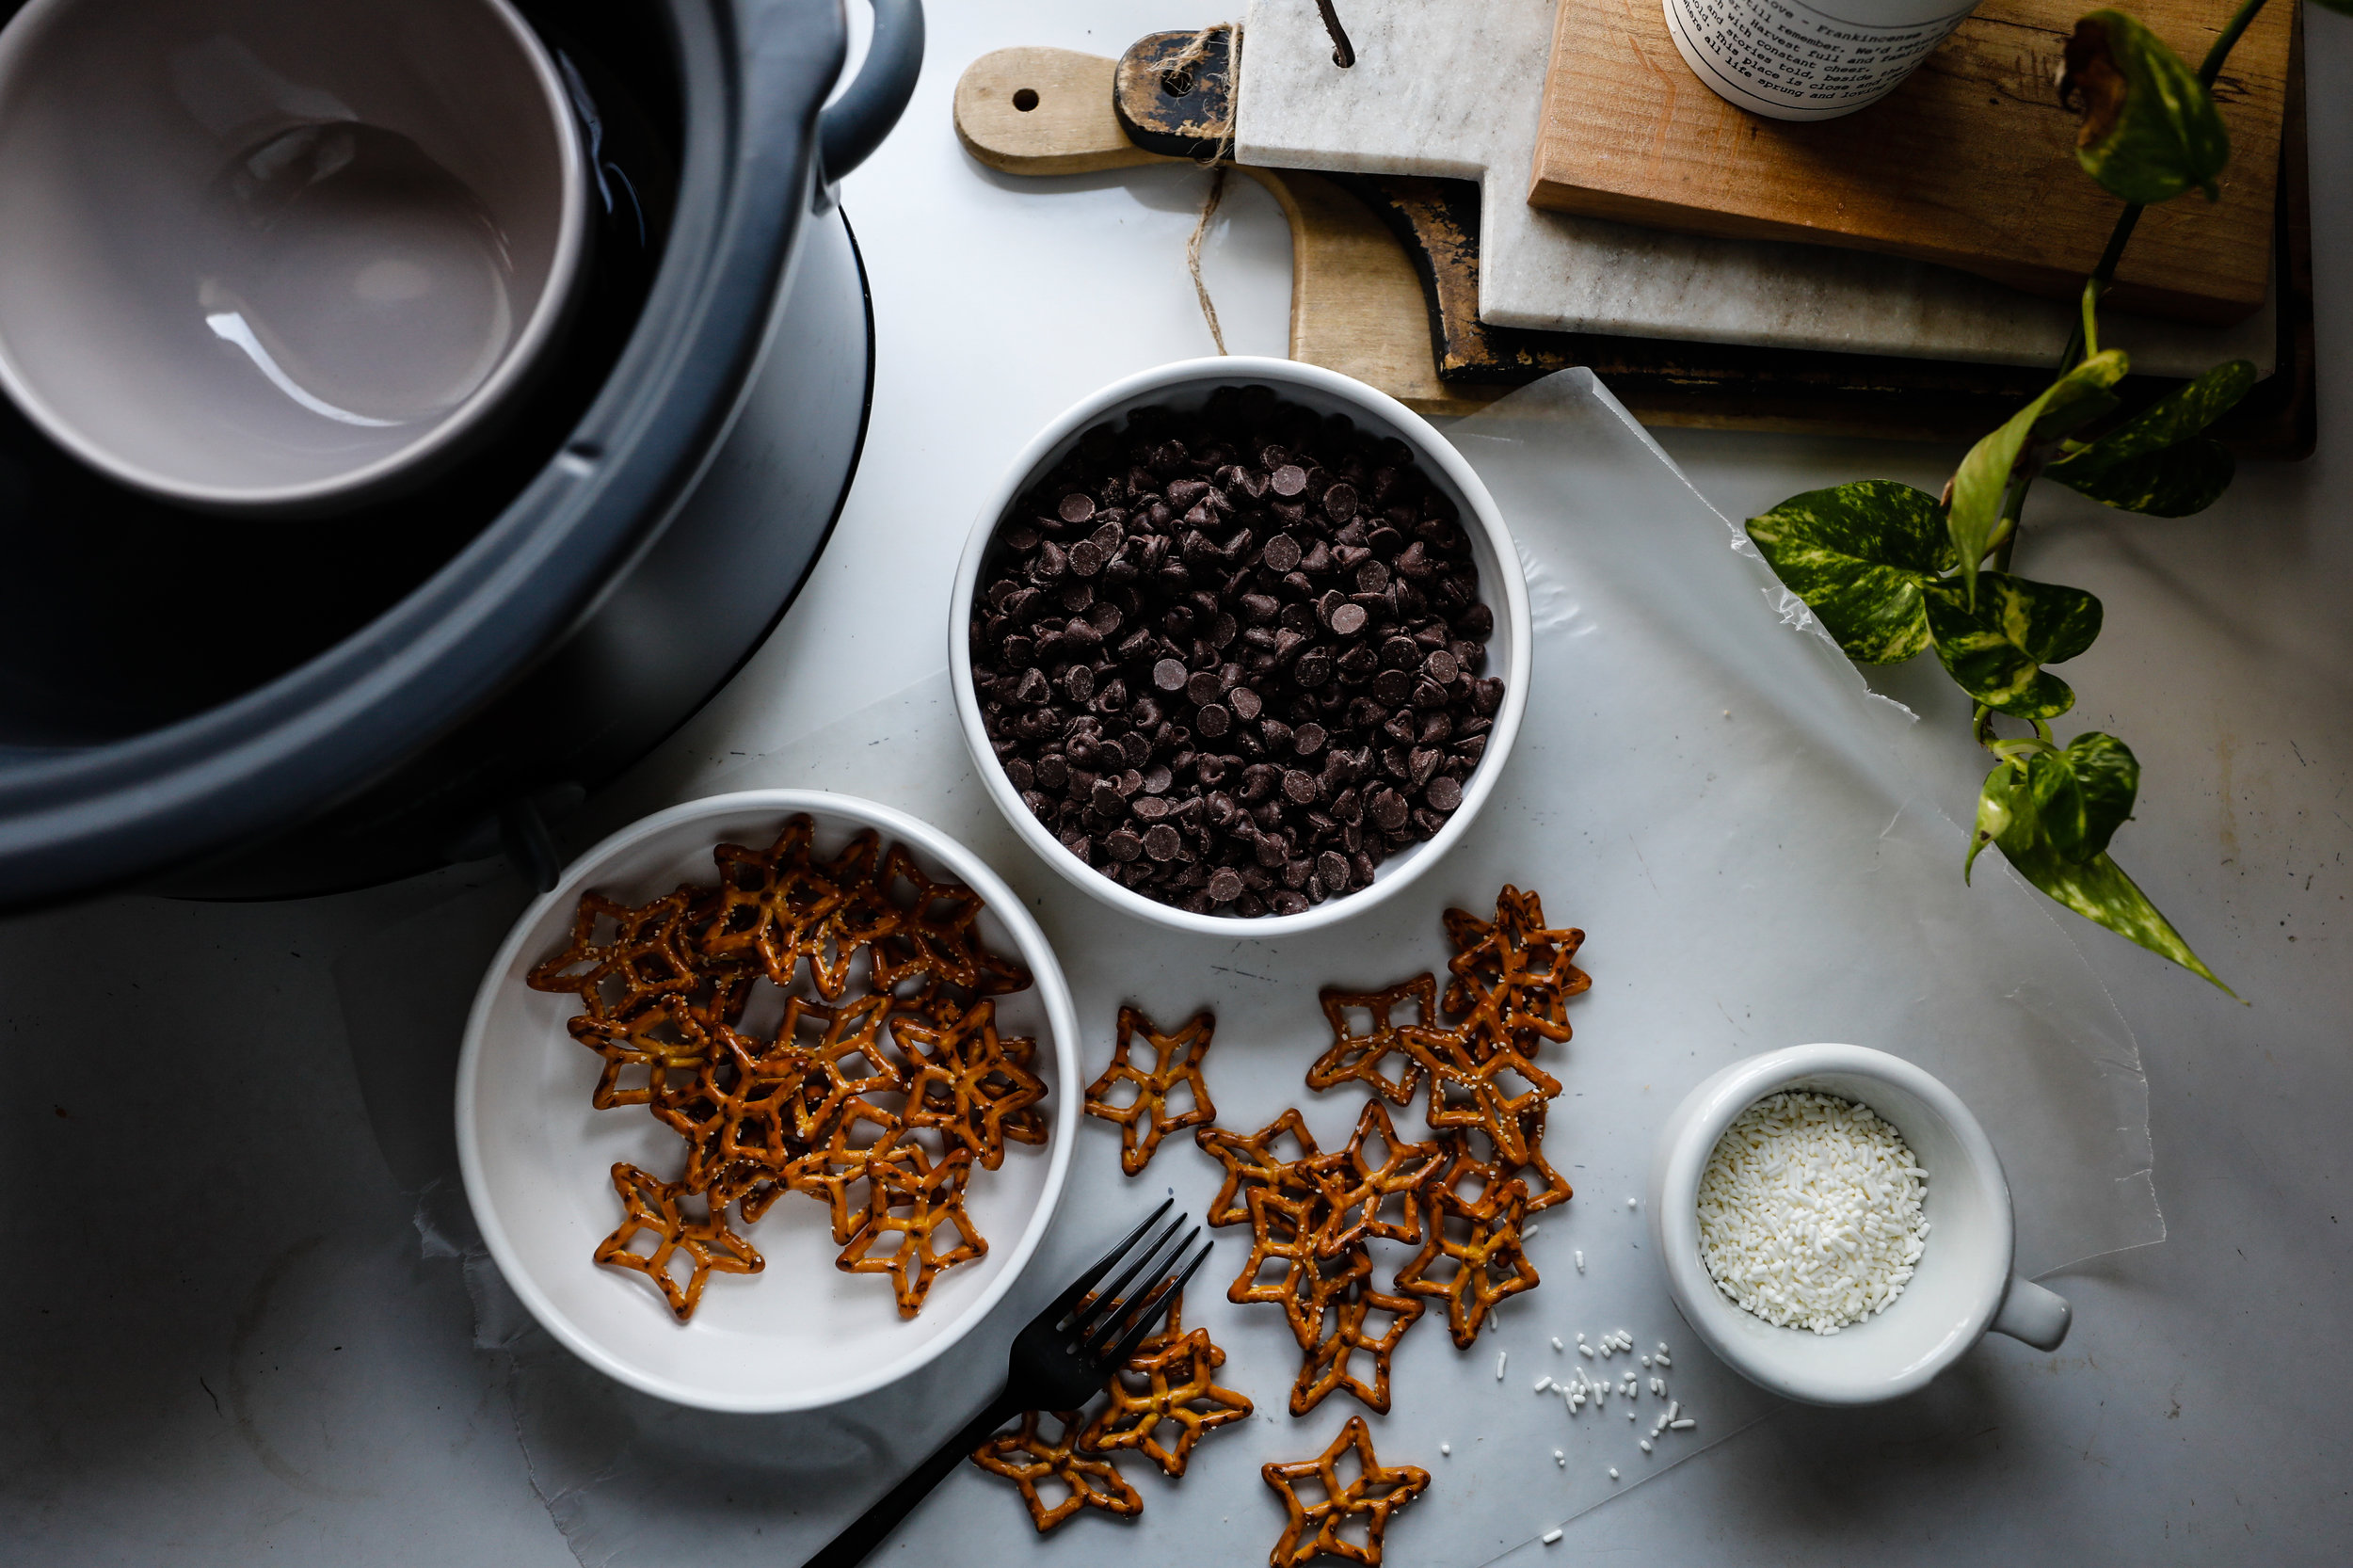
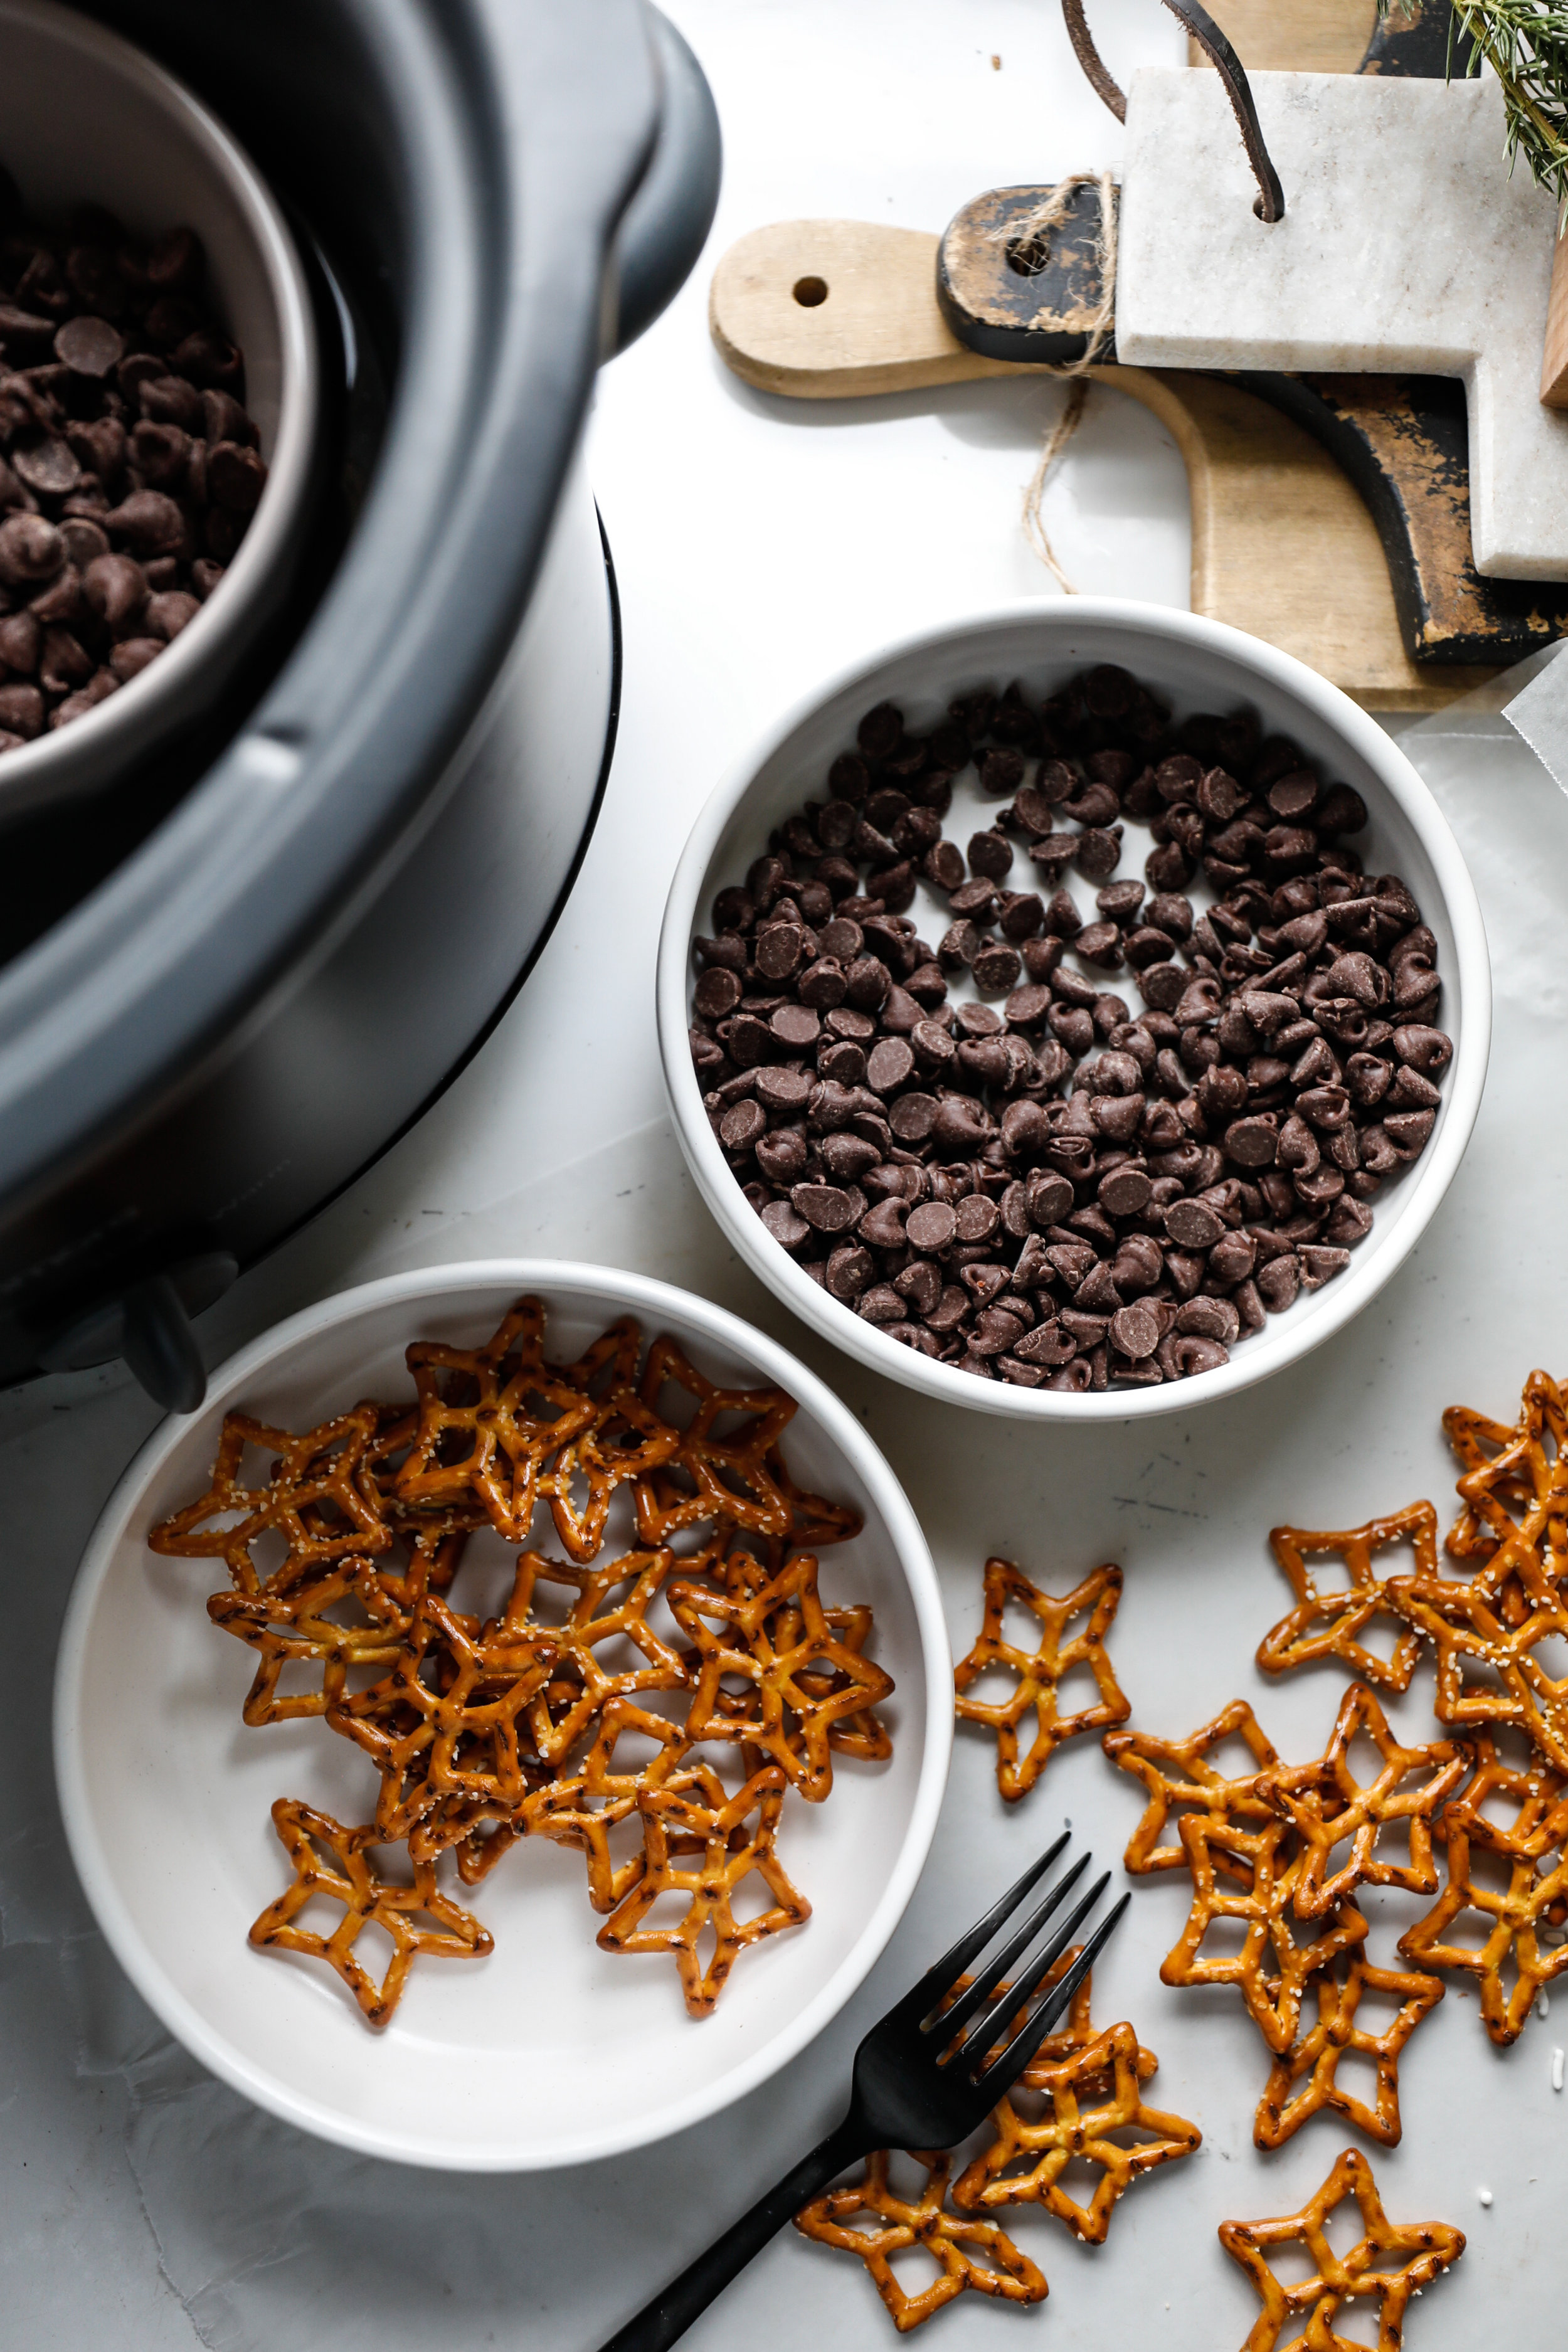
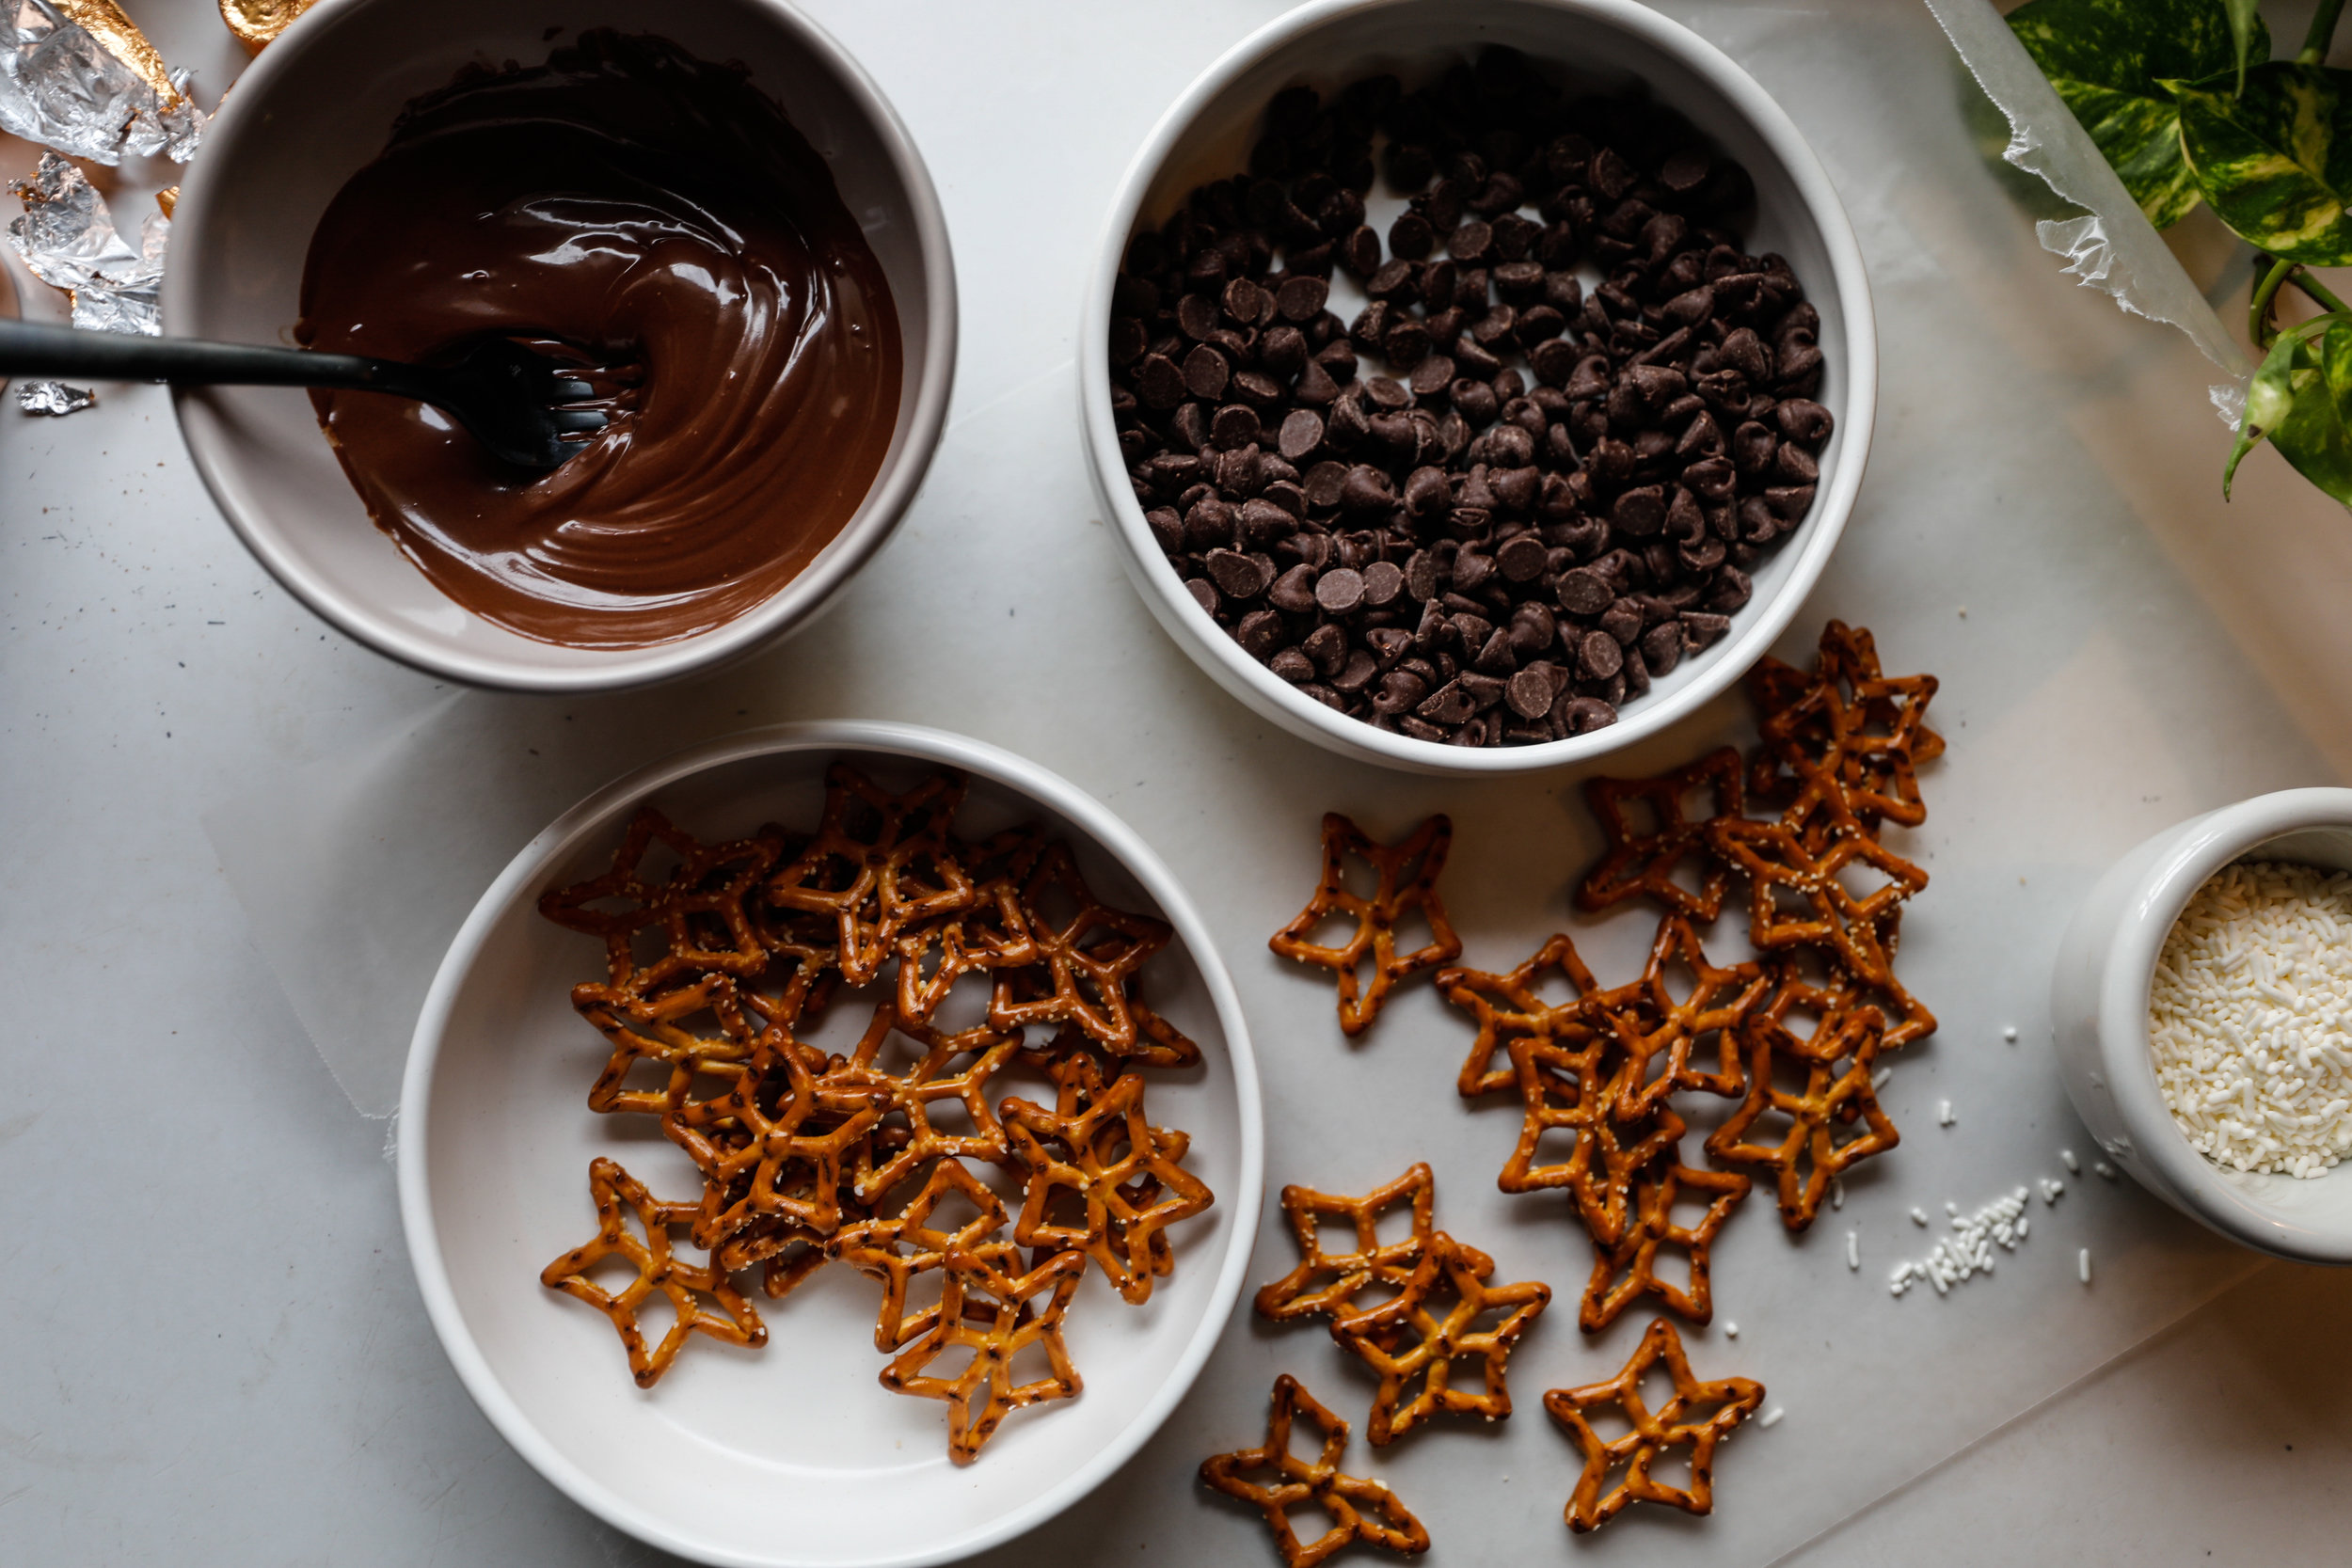
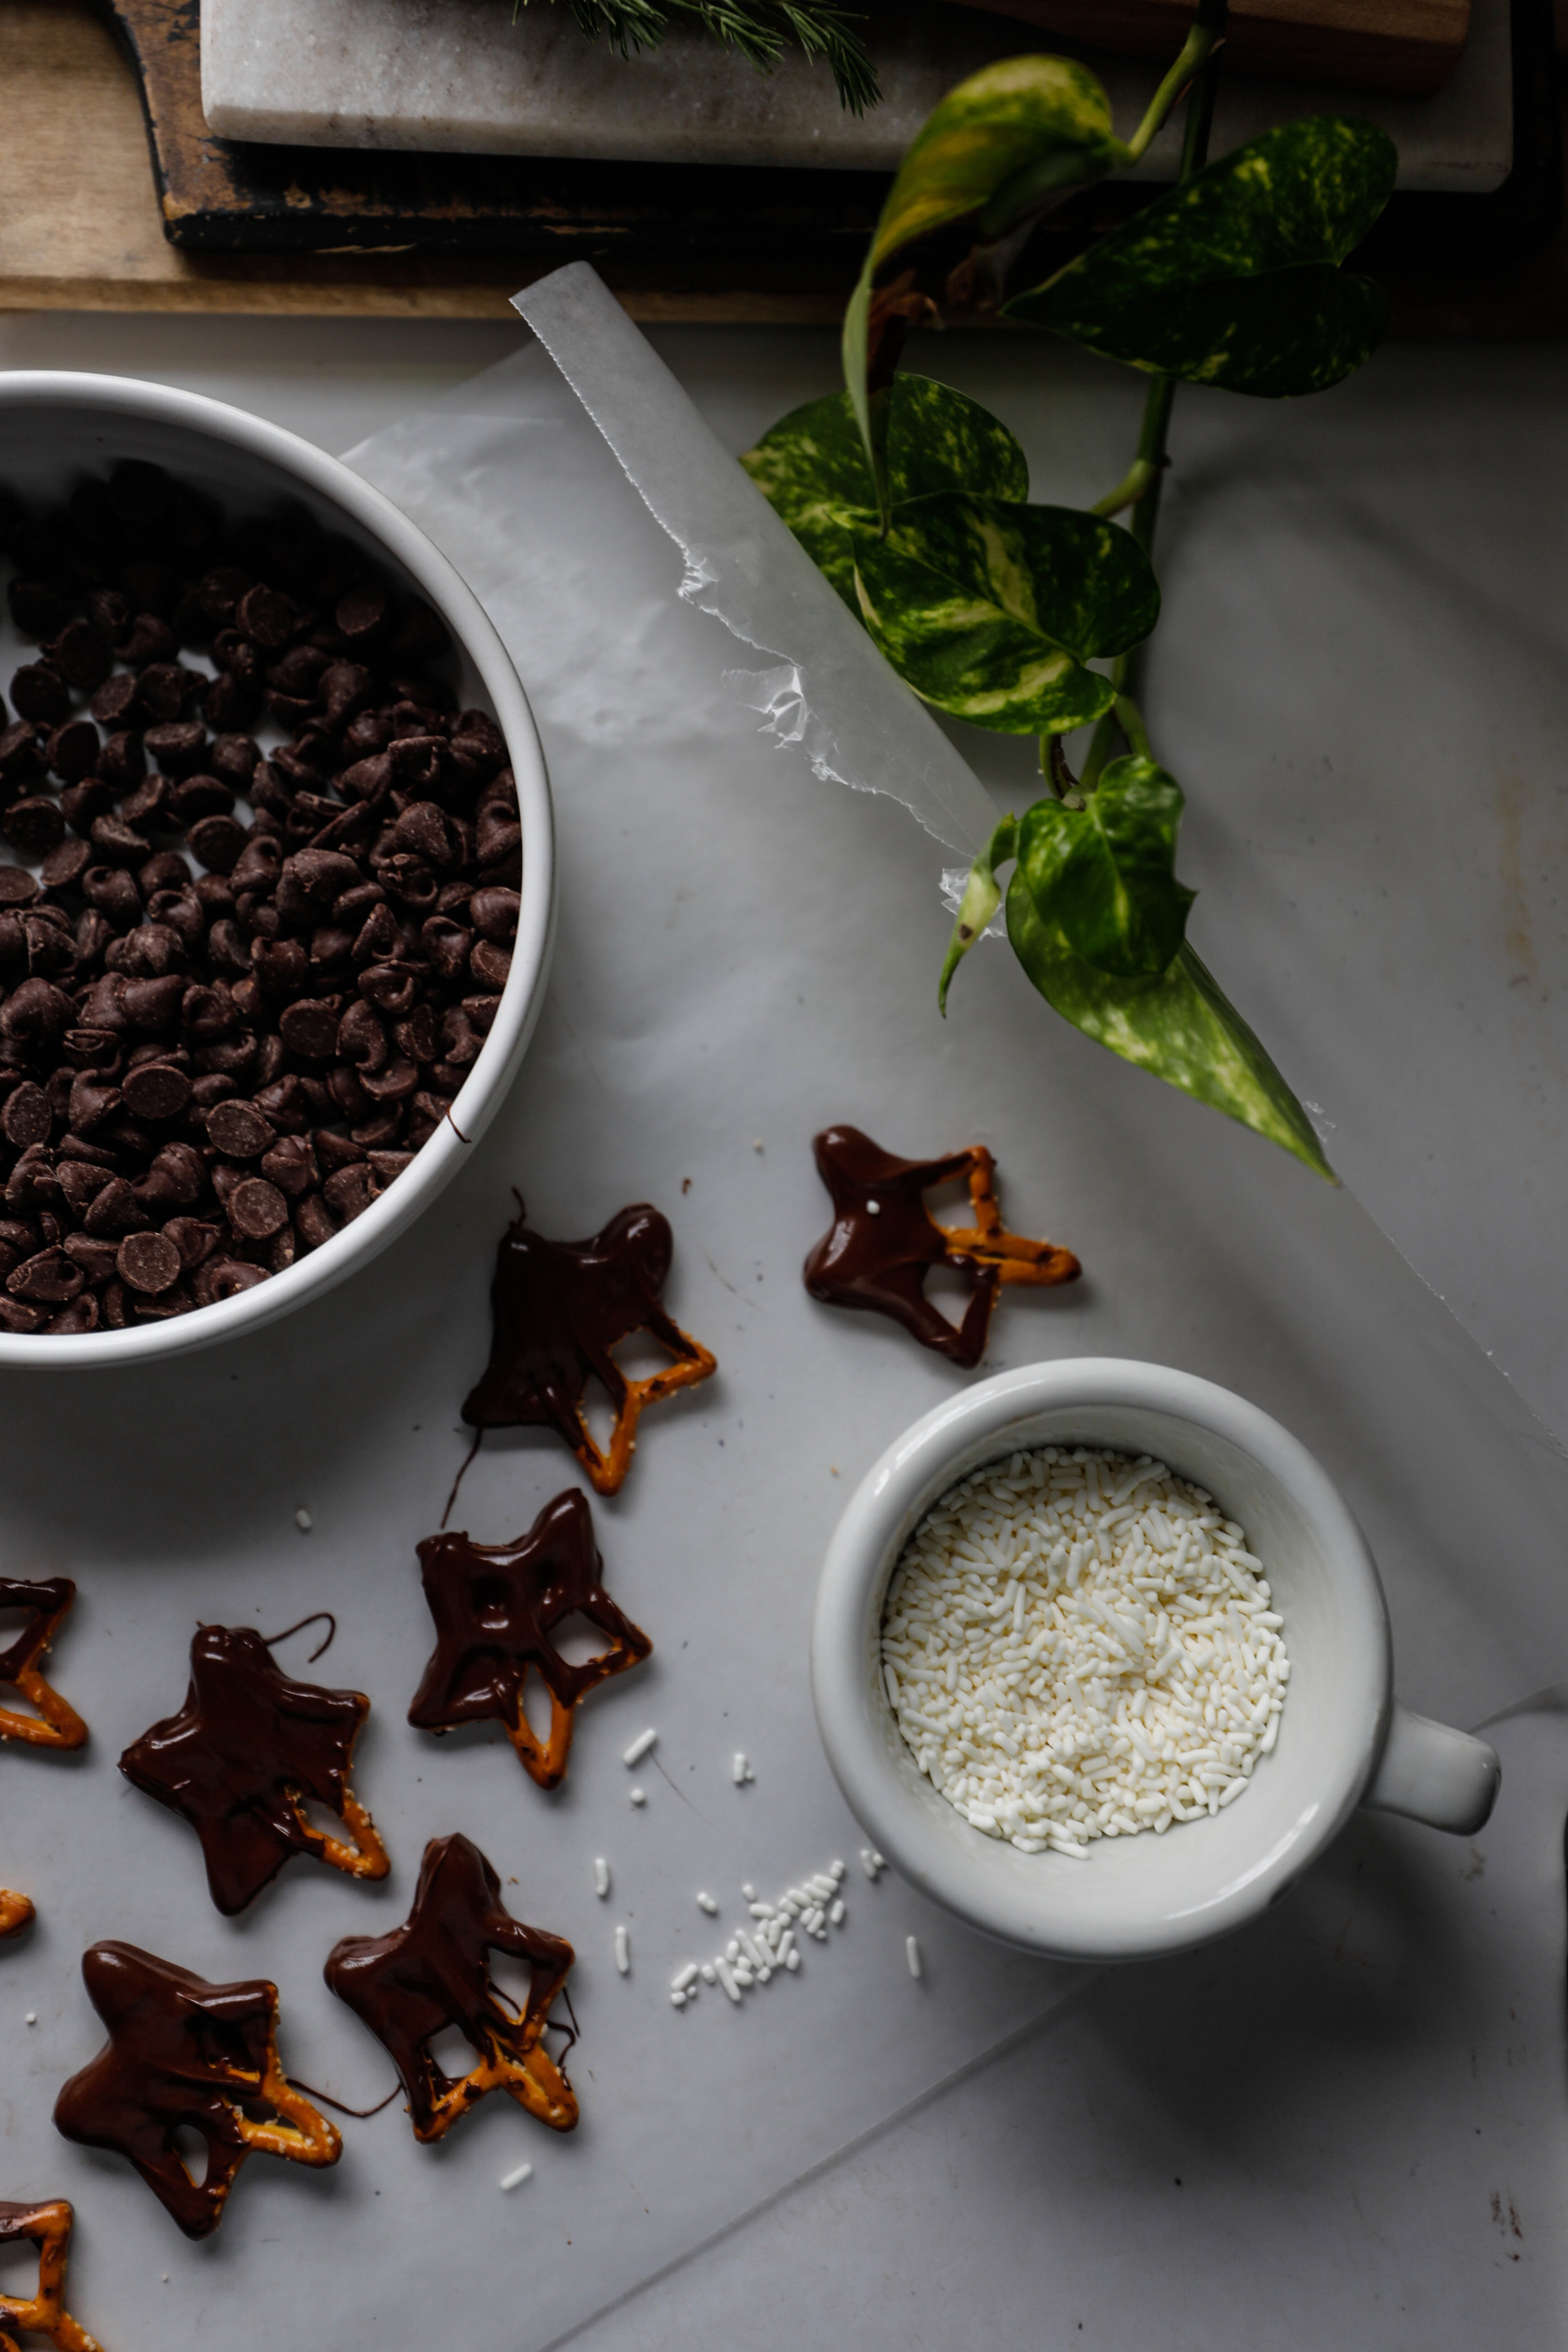
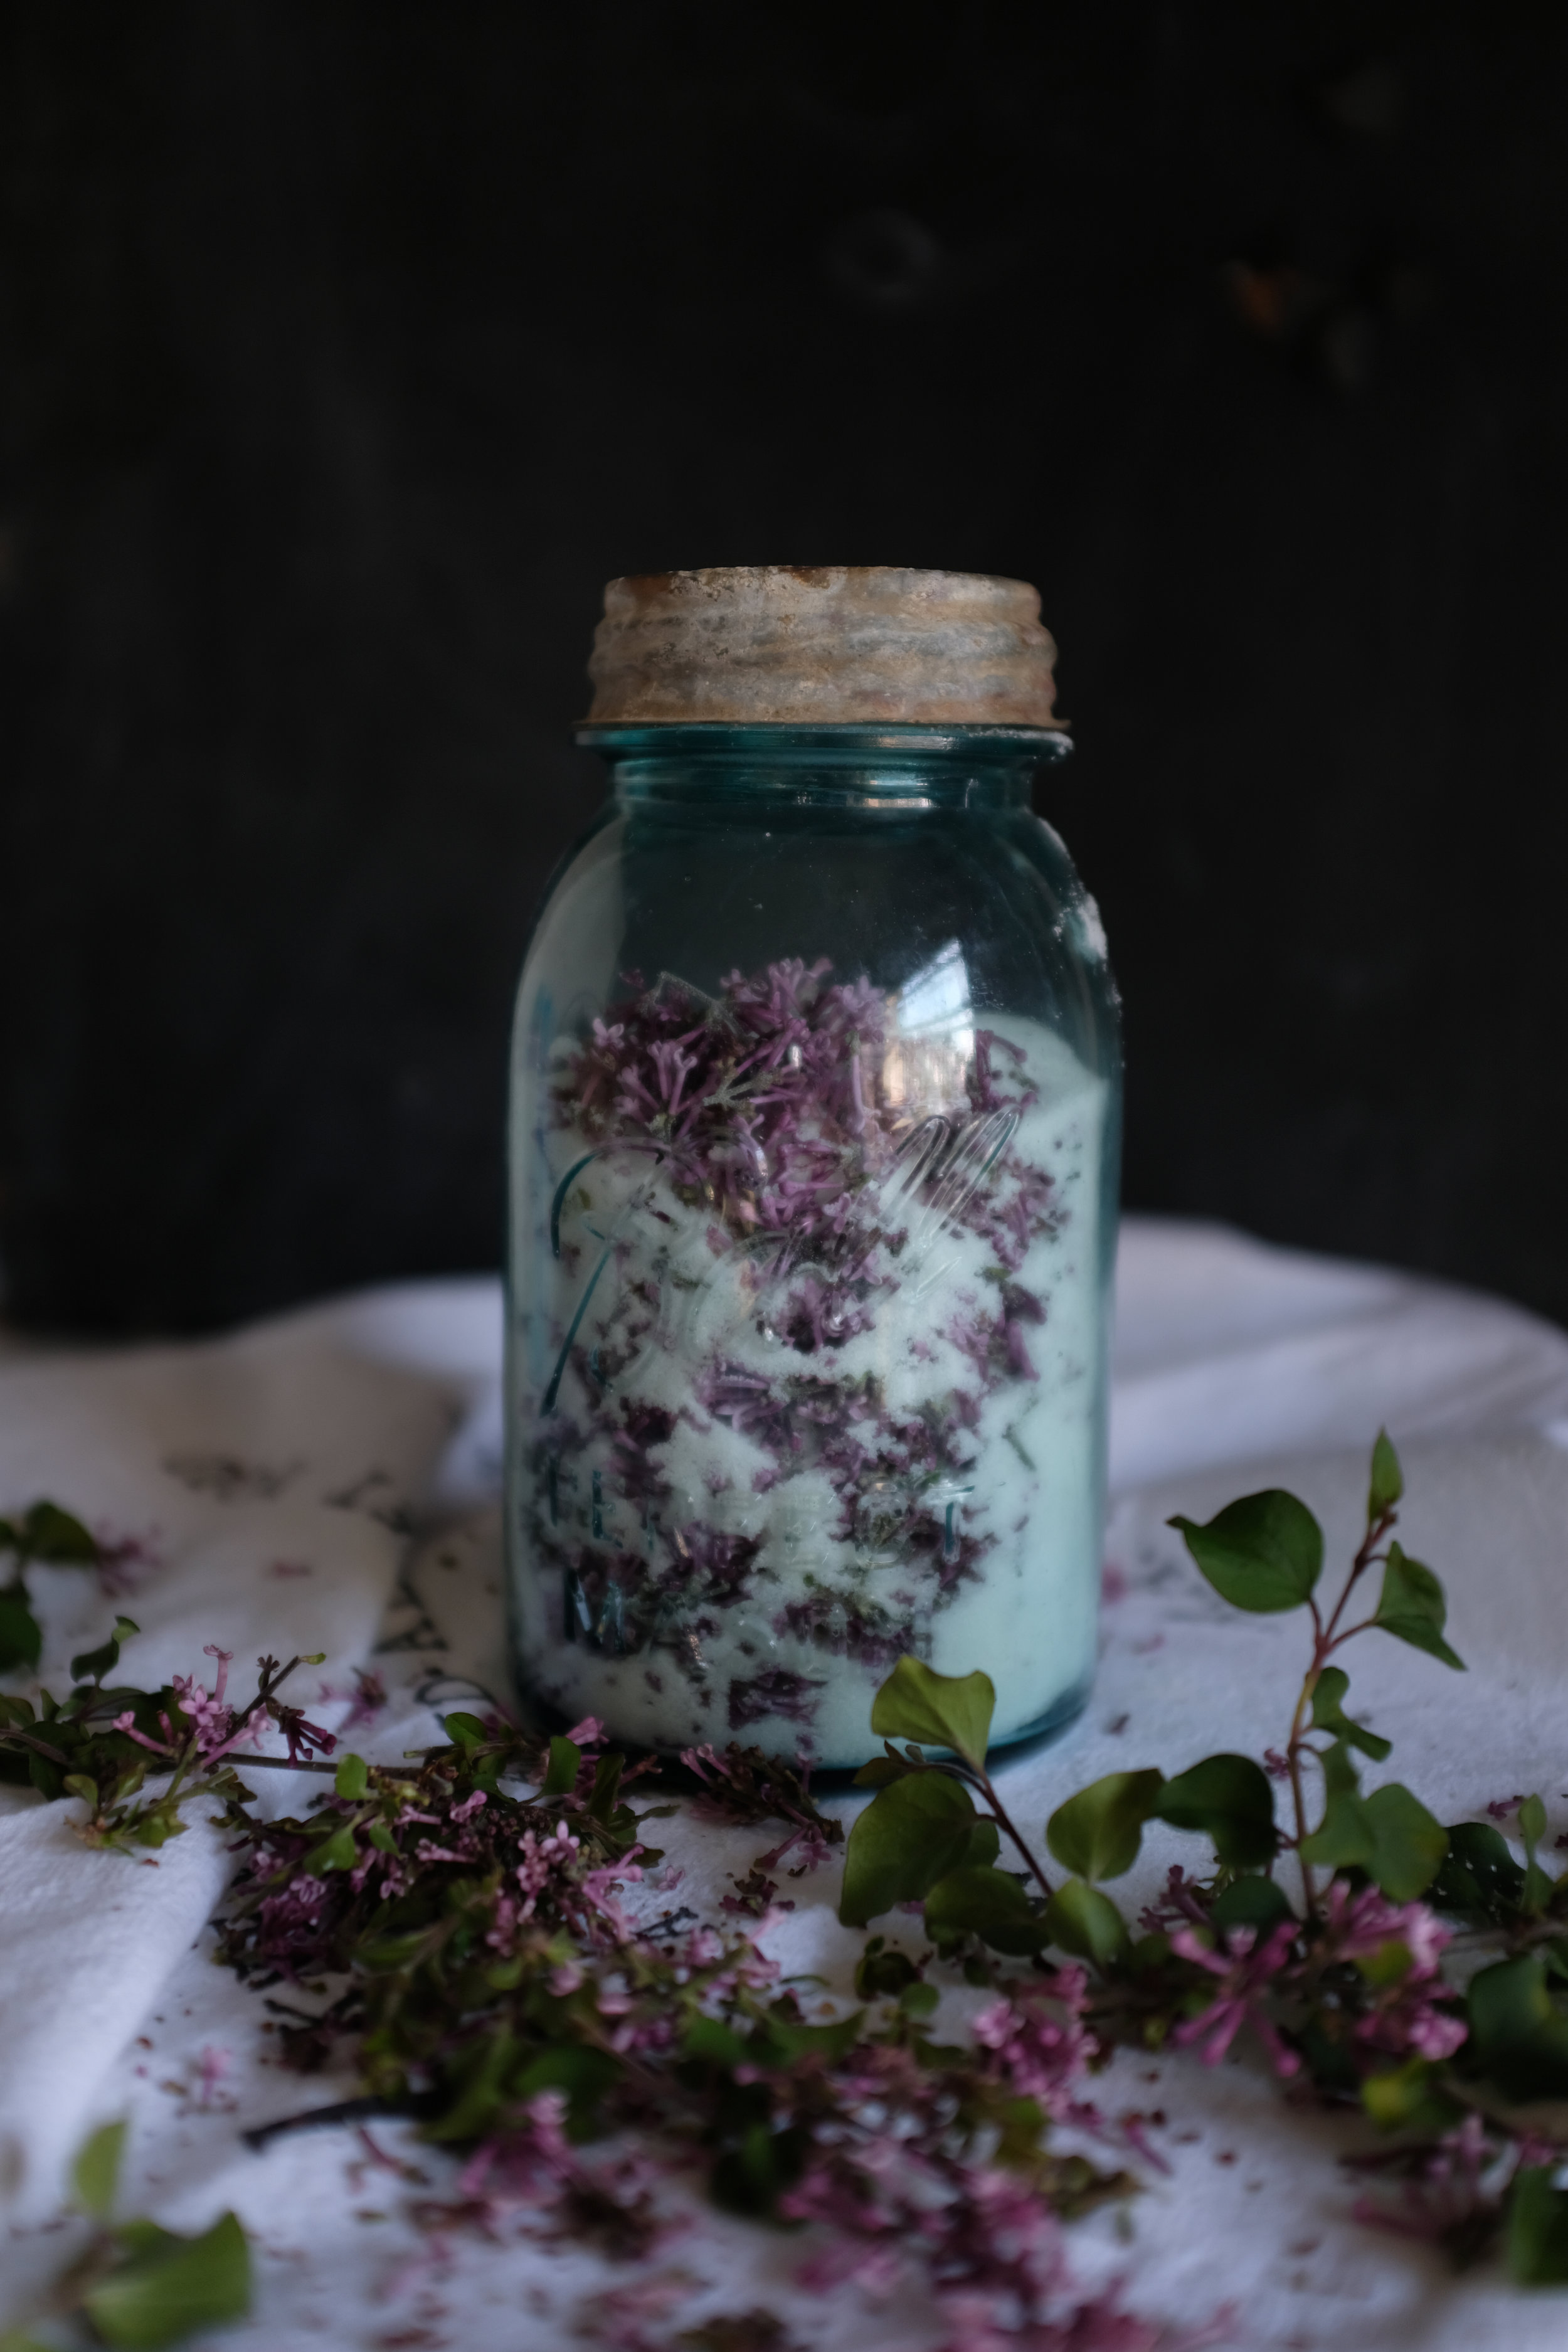
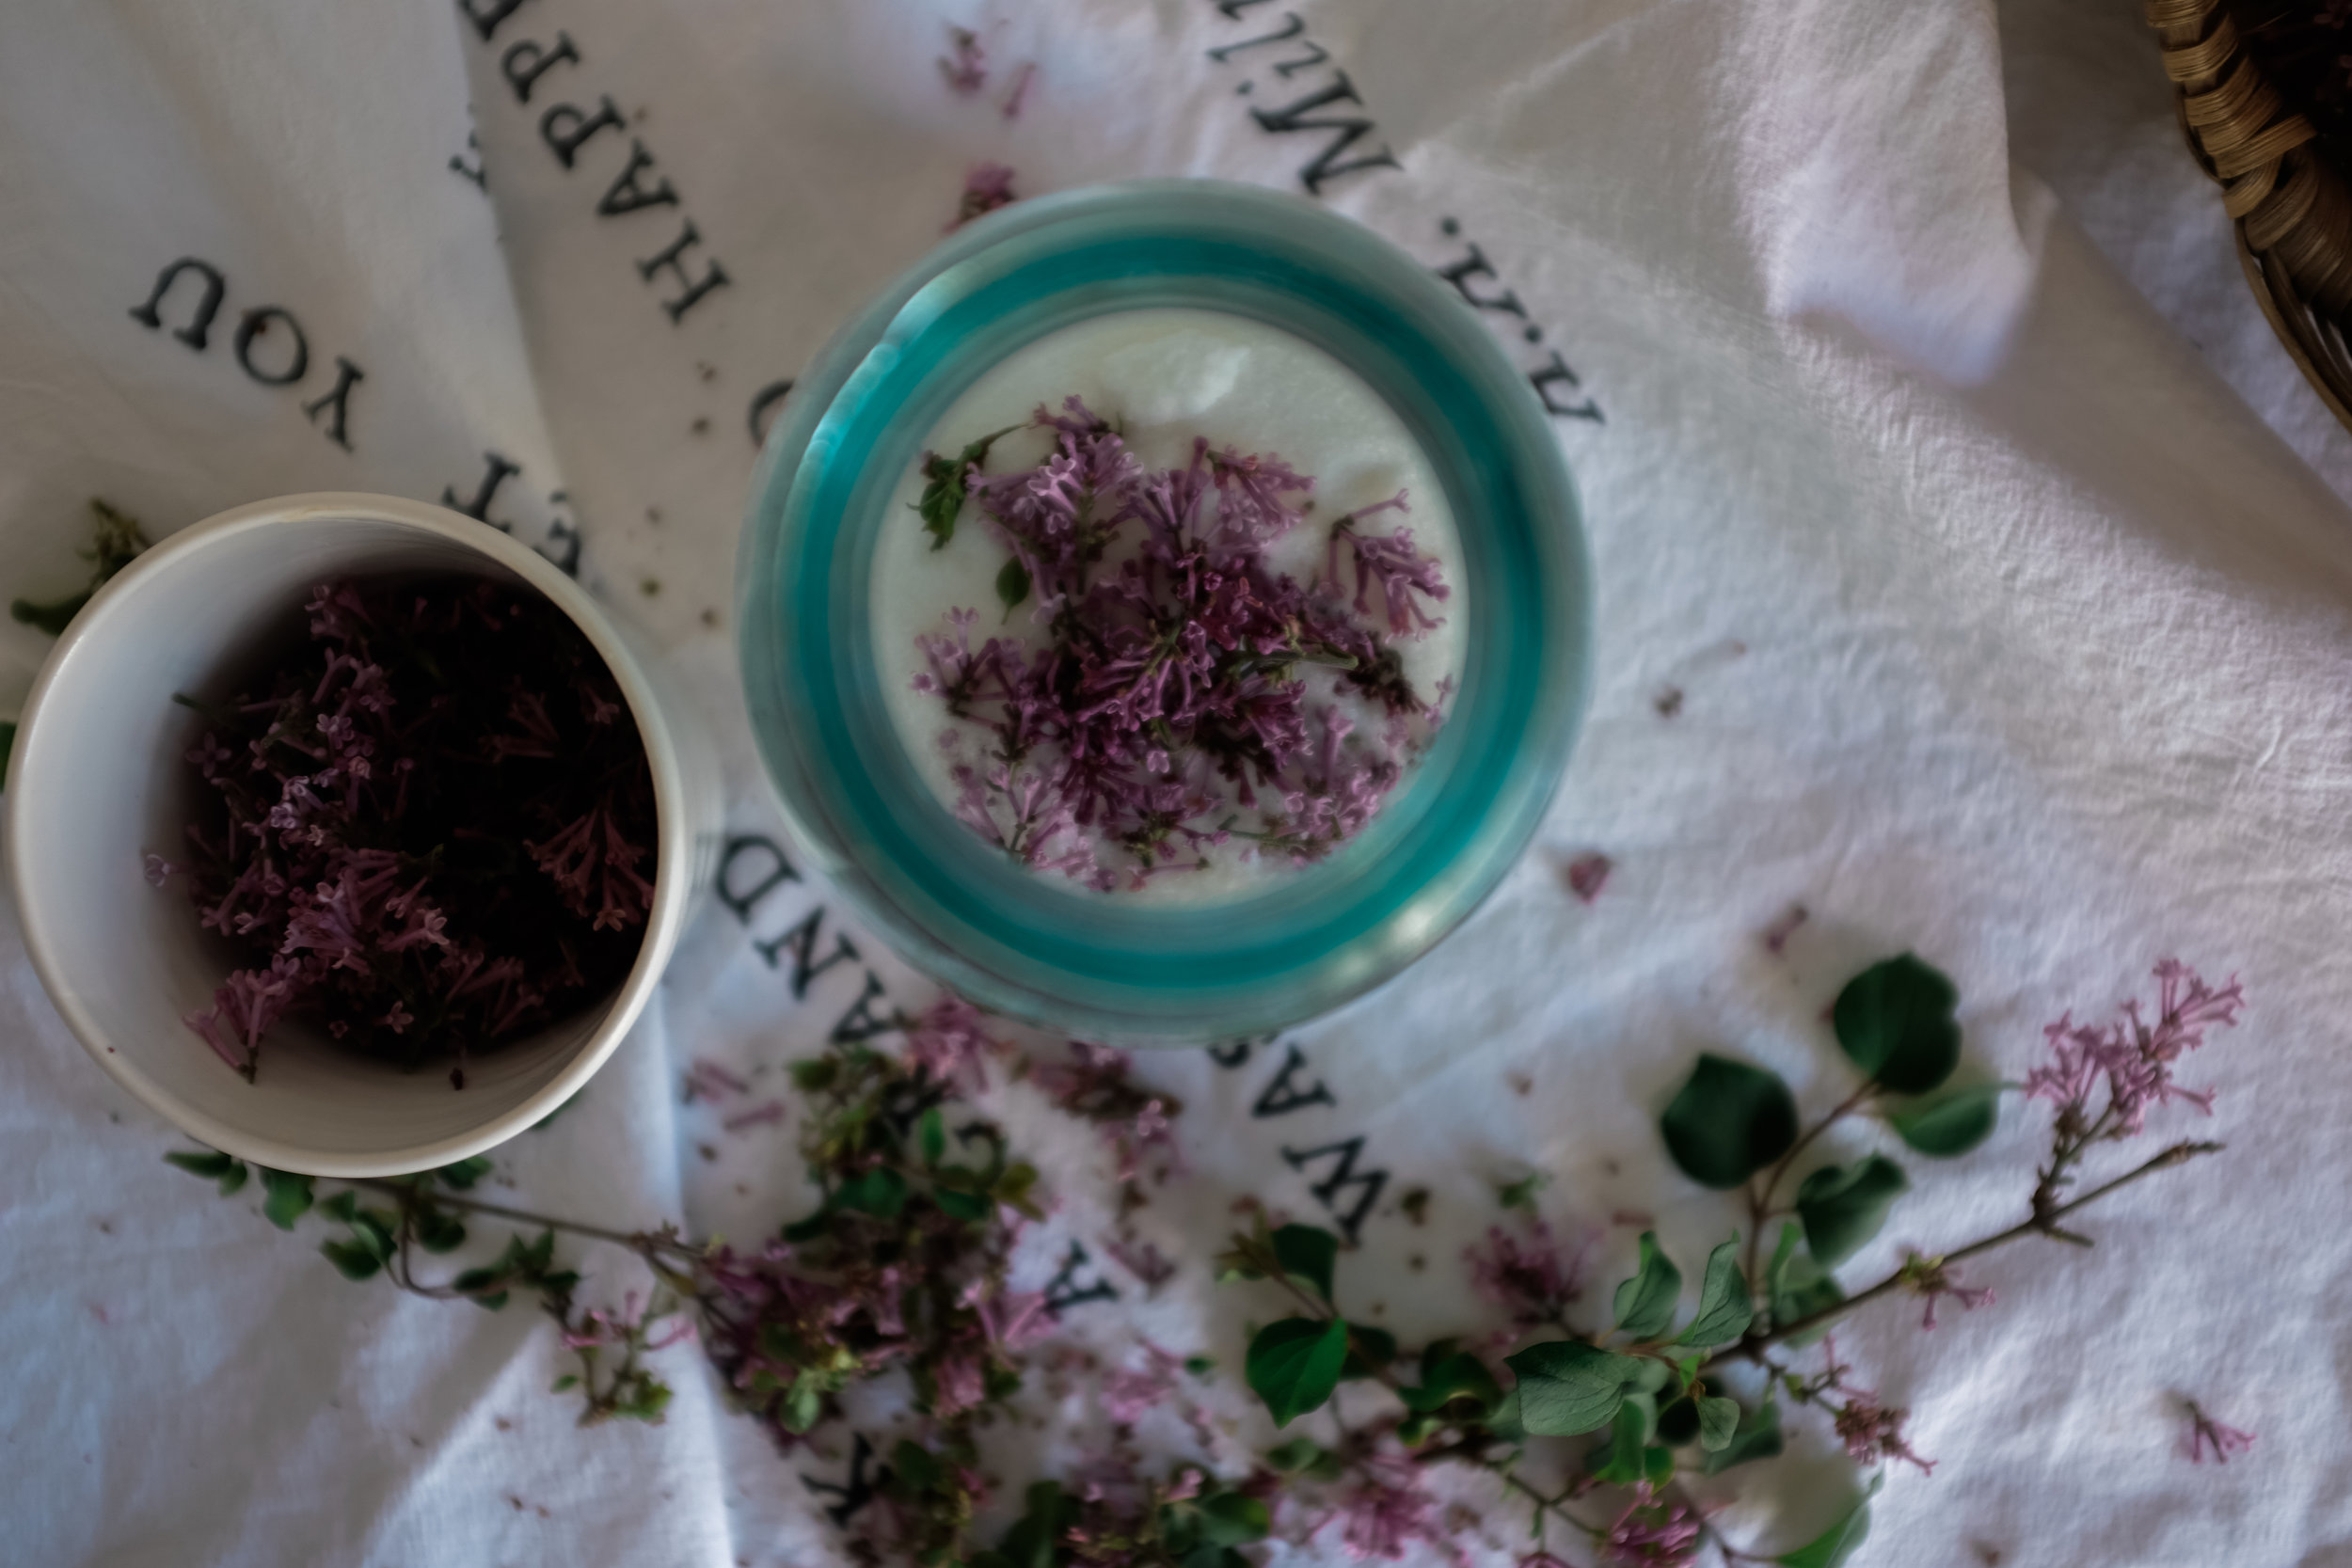
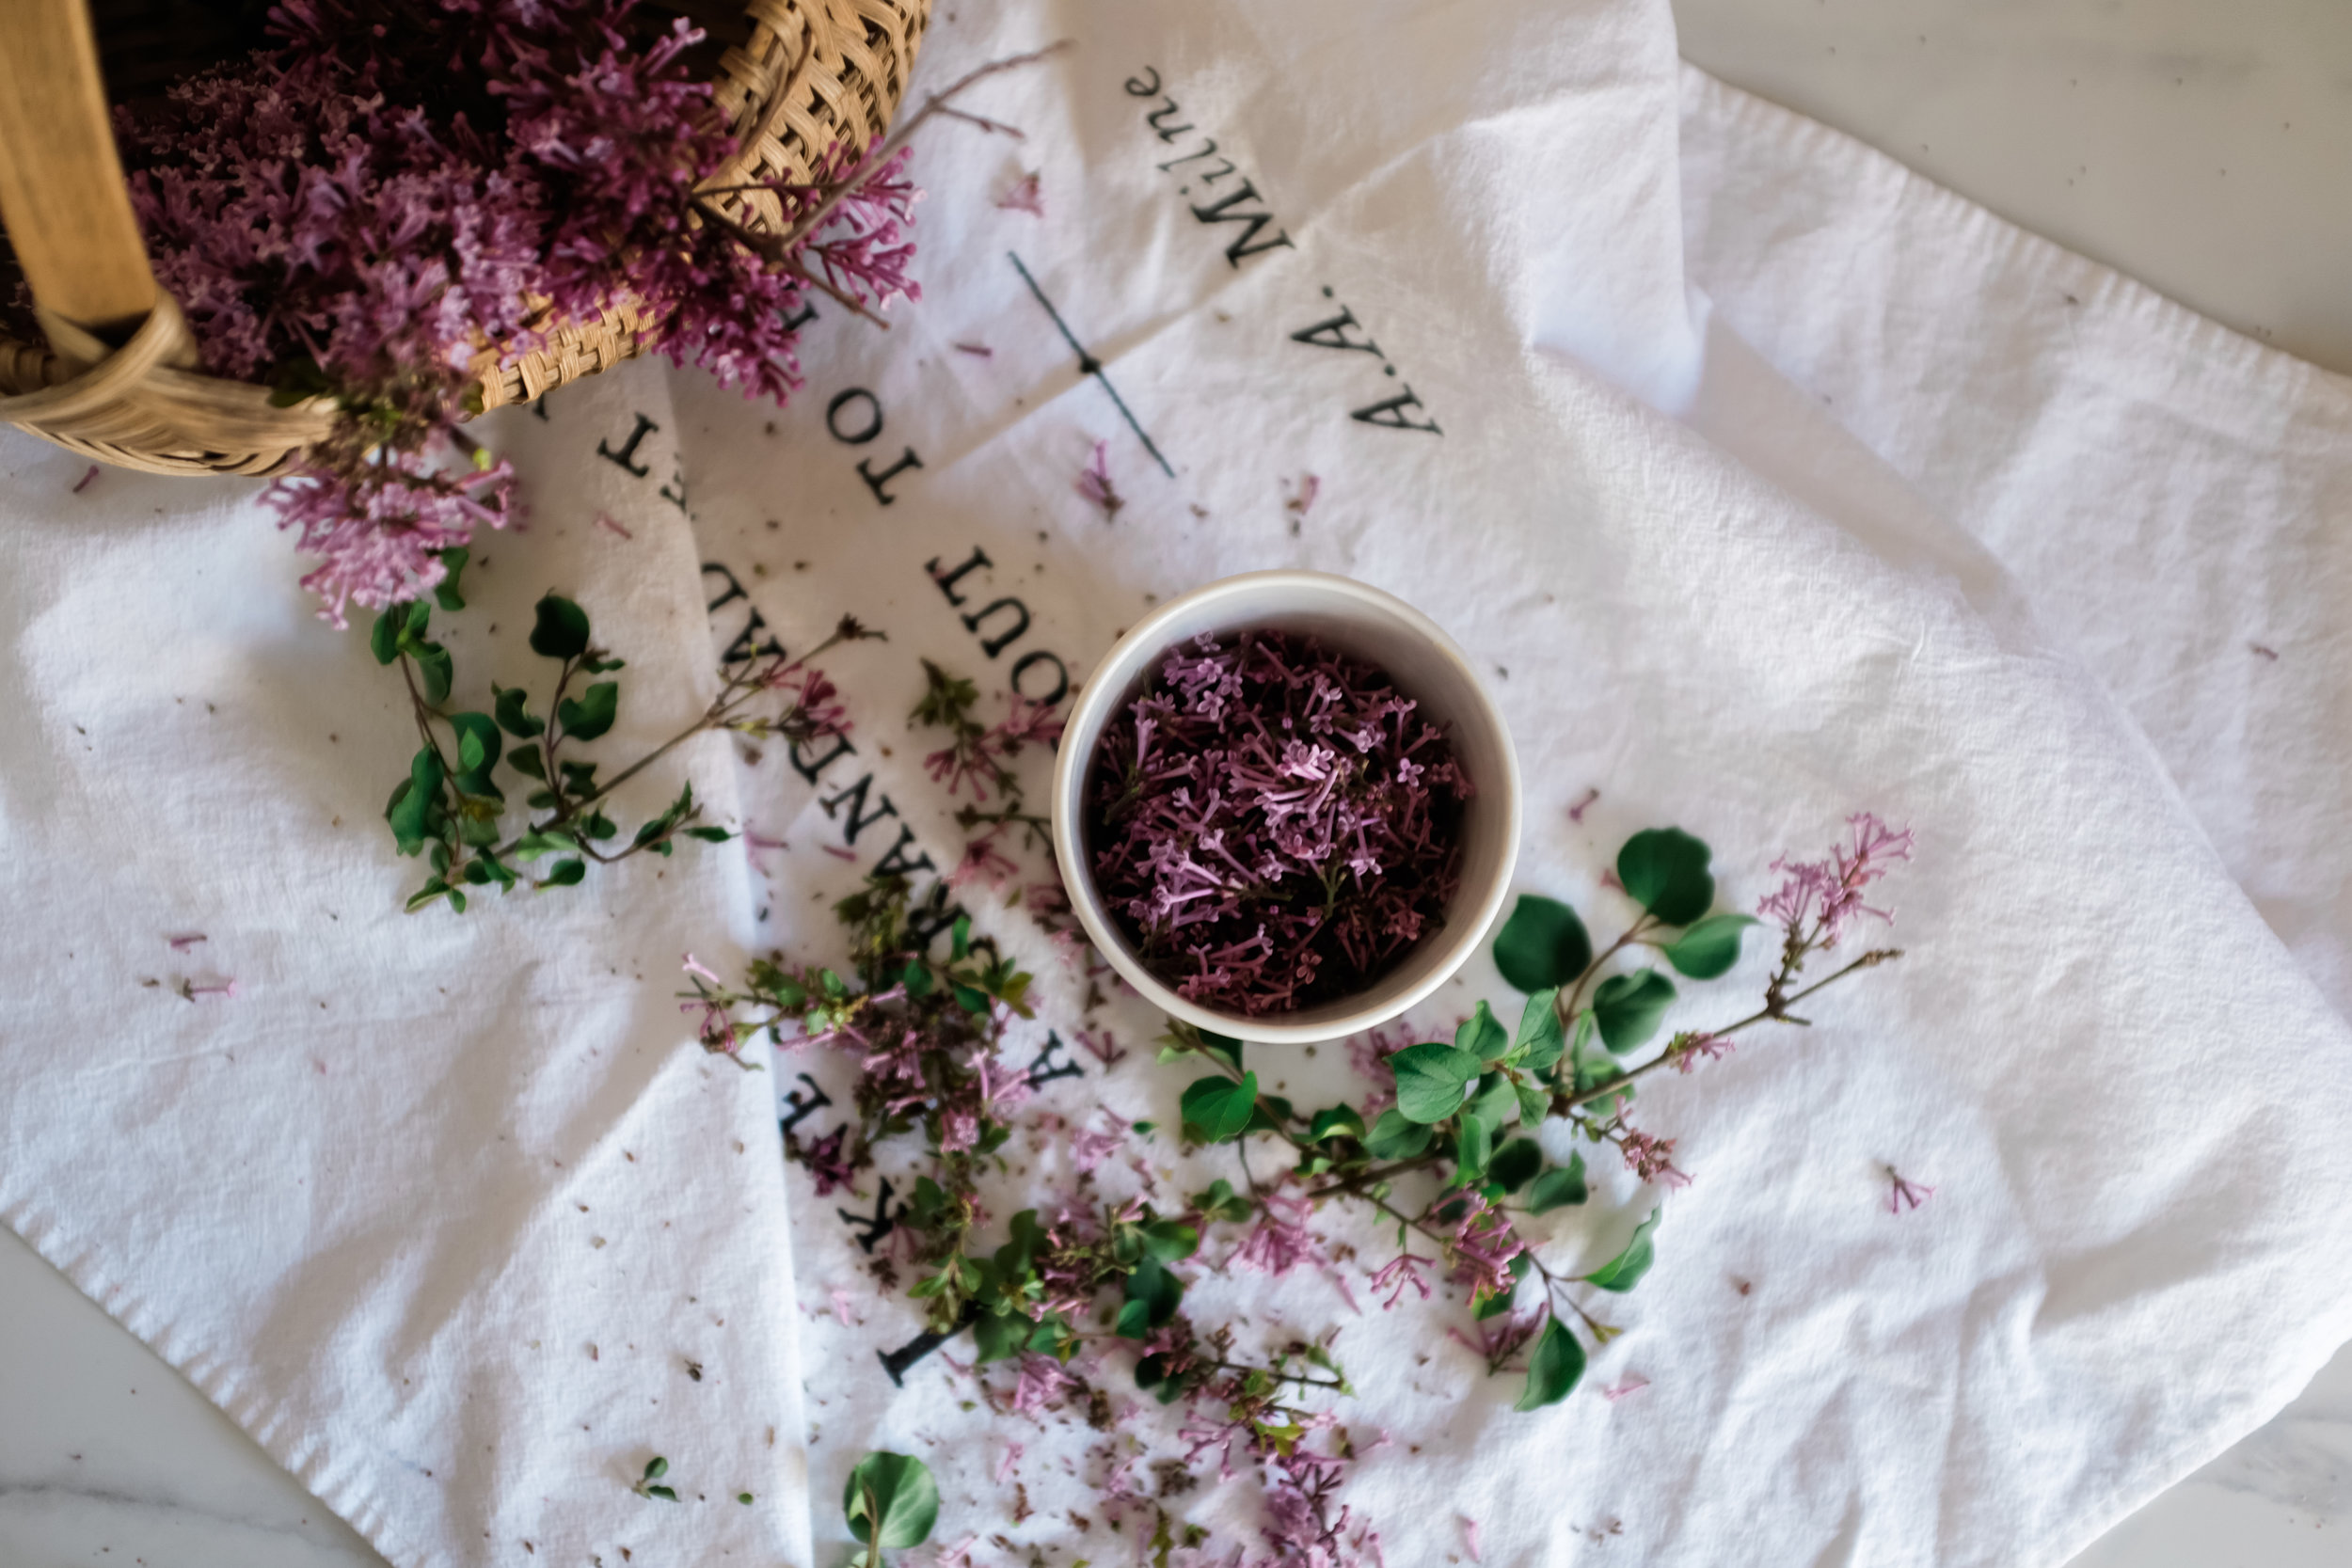
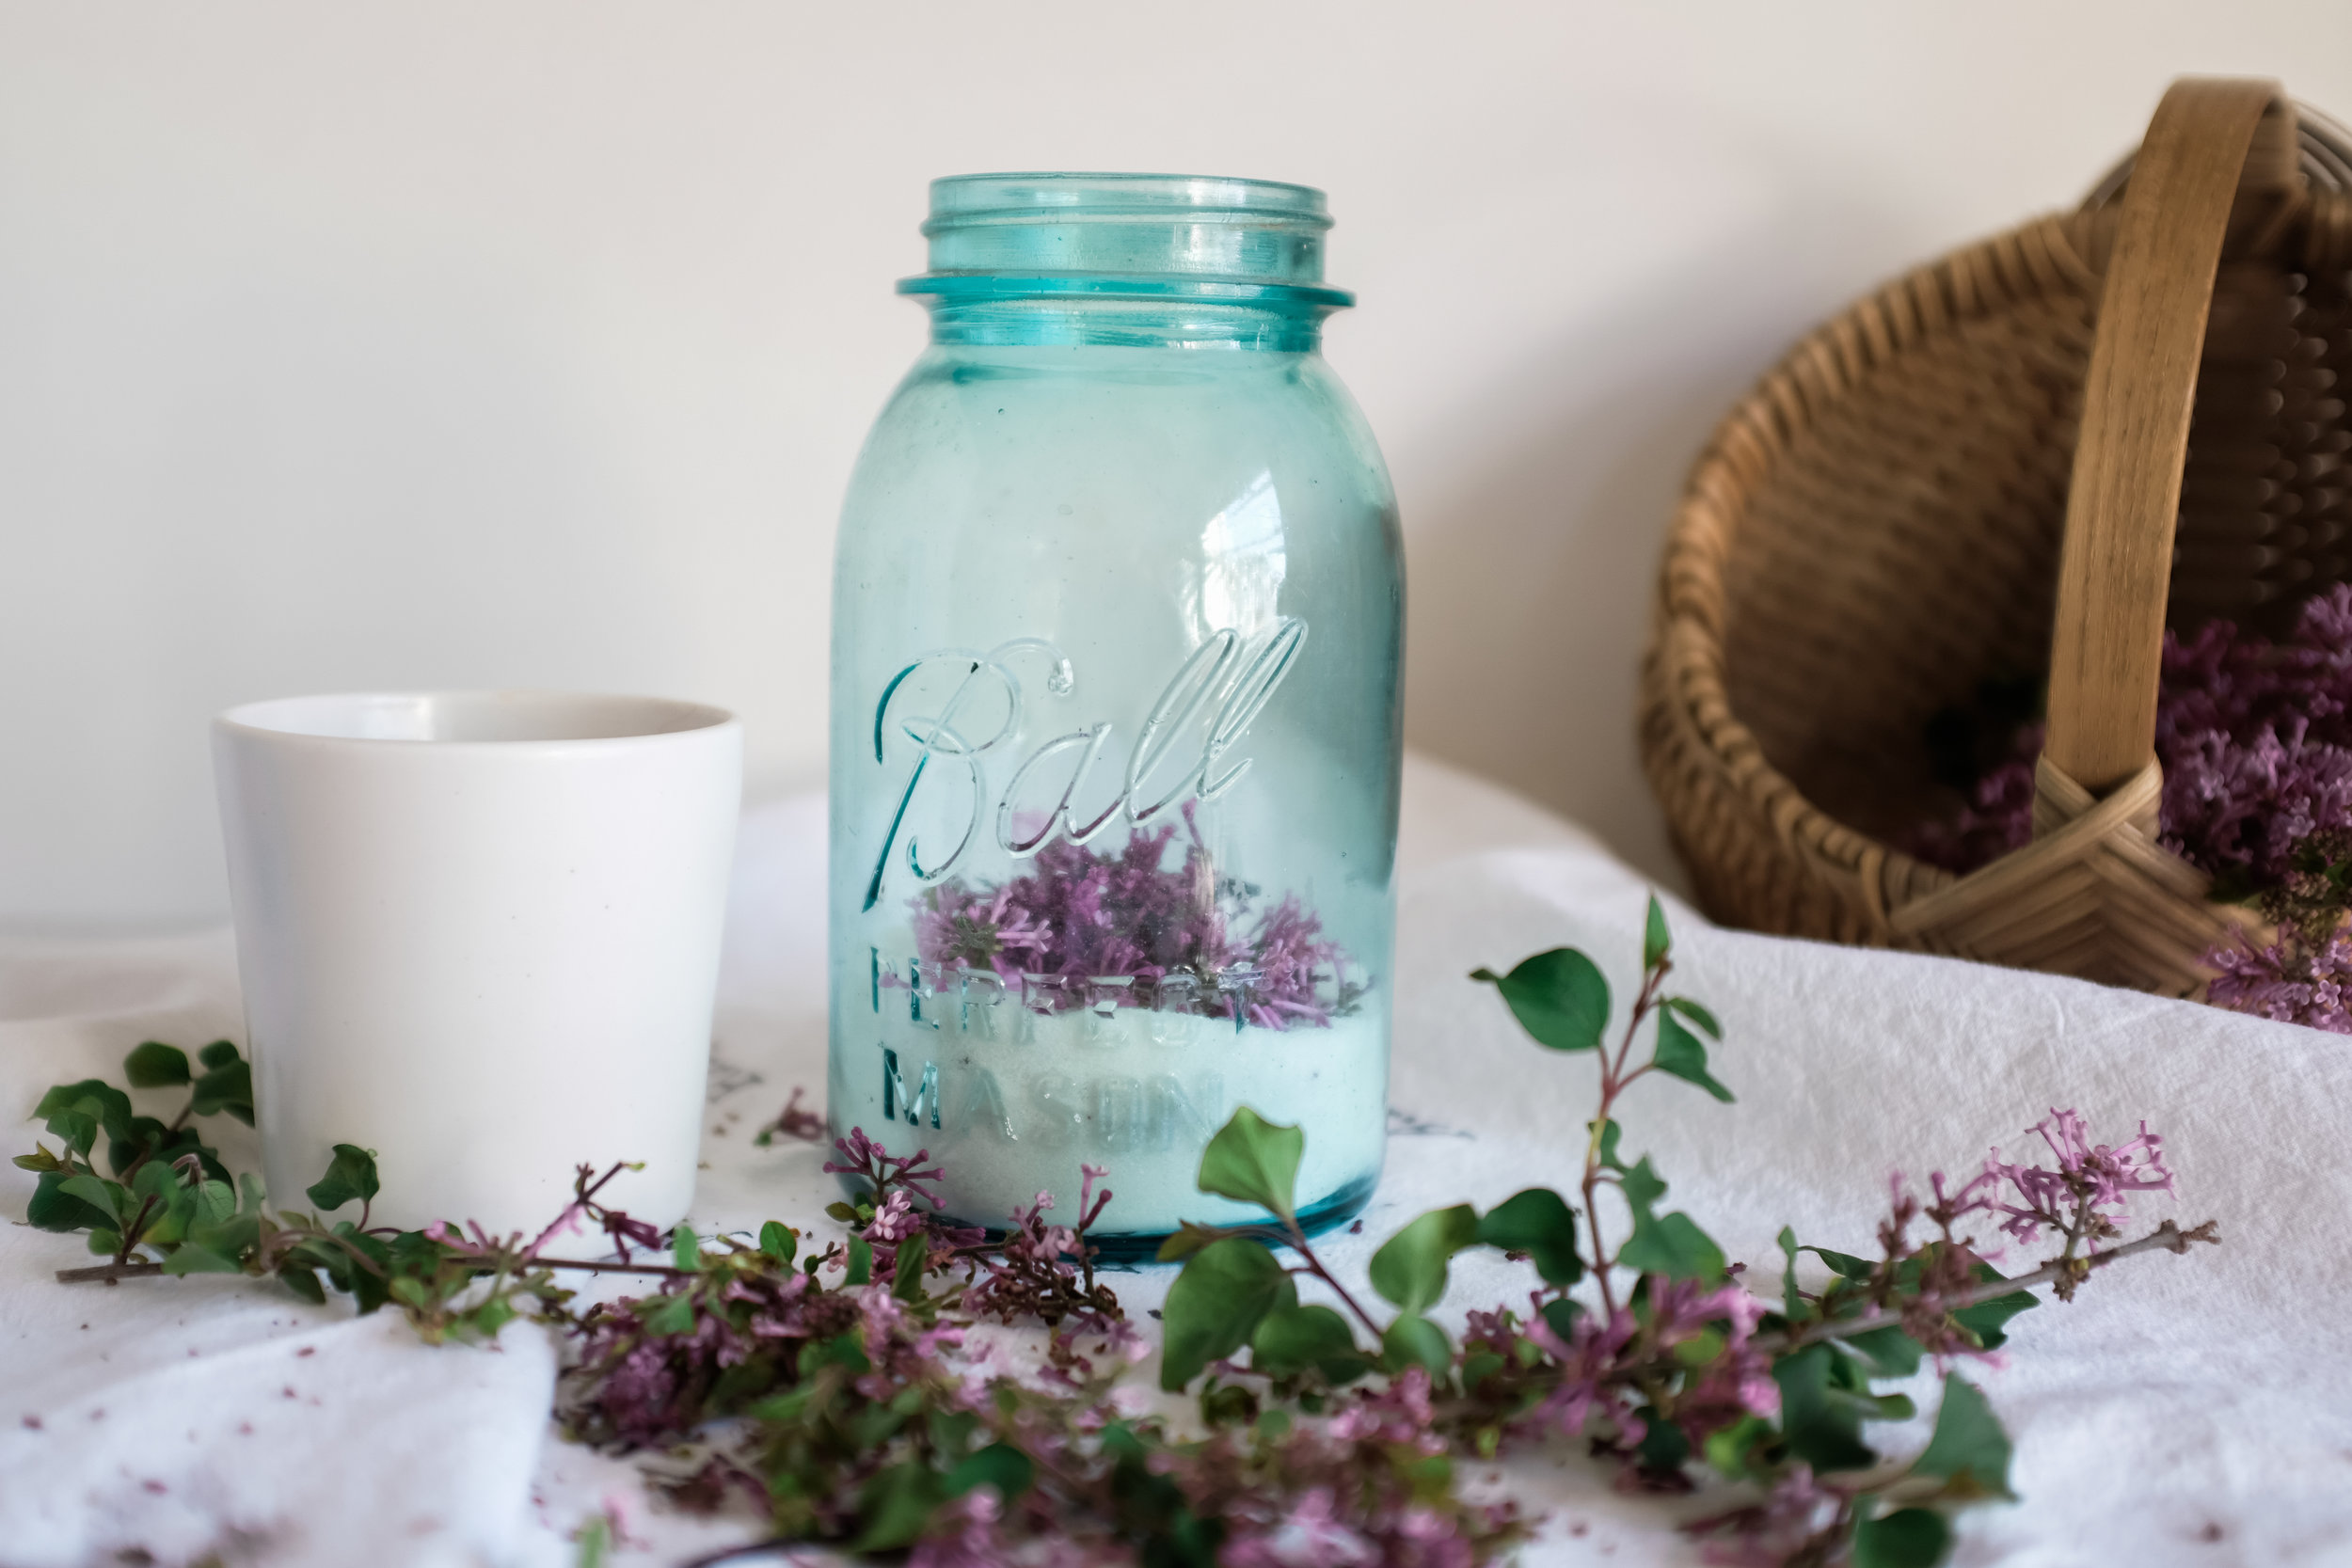
If you’re wondering what a peppermint cream is think of it as a slightly larger after dinner mint. That’s what it reminds me of. If you can’t find a miniature shamrock cookie cutter a bigger one will work just as well. And if you’re a chocolate lover like me, dip your mints in some melted chocolate and sprinkle with some St. Patty’s sprinkles!

Shamrock Peppermint Creams
1 3/4 cup confectioners’ sugar
4-6 Tablespoons sweetened condensed milk
1/2 teaspoon peppermint extract
Green food coloring paste
A mini shamrock-shaped cutter
Sift the confectioners’ sugar into a large bowl. Gradually add the condensed milk and peppermint, mixing with a wooden spoon. The mixture should come together like a dough and you may need to use your hands towards the end of mixing. To knead the dough, sprinkle confectioners’ sugar on a clean work surface. Shape the dough into a ball and push on it and press it onto the work surface, turning it round often. Do this for just a minute of so until smooth. Divide the dough in half and tint one half green using food coloring. Knead the dough again until it is evenly green. On the work surface, roll out the dough to a thickness of 1/4 inch using a rolling pin. Stamp out shamrocks with your cookie cutter and arrange them on a sheet of baking parchment. Let dry out overnight. Dip in melted chocolate and cover with sprinkles if desired.